Invite new users
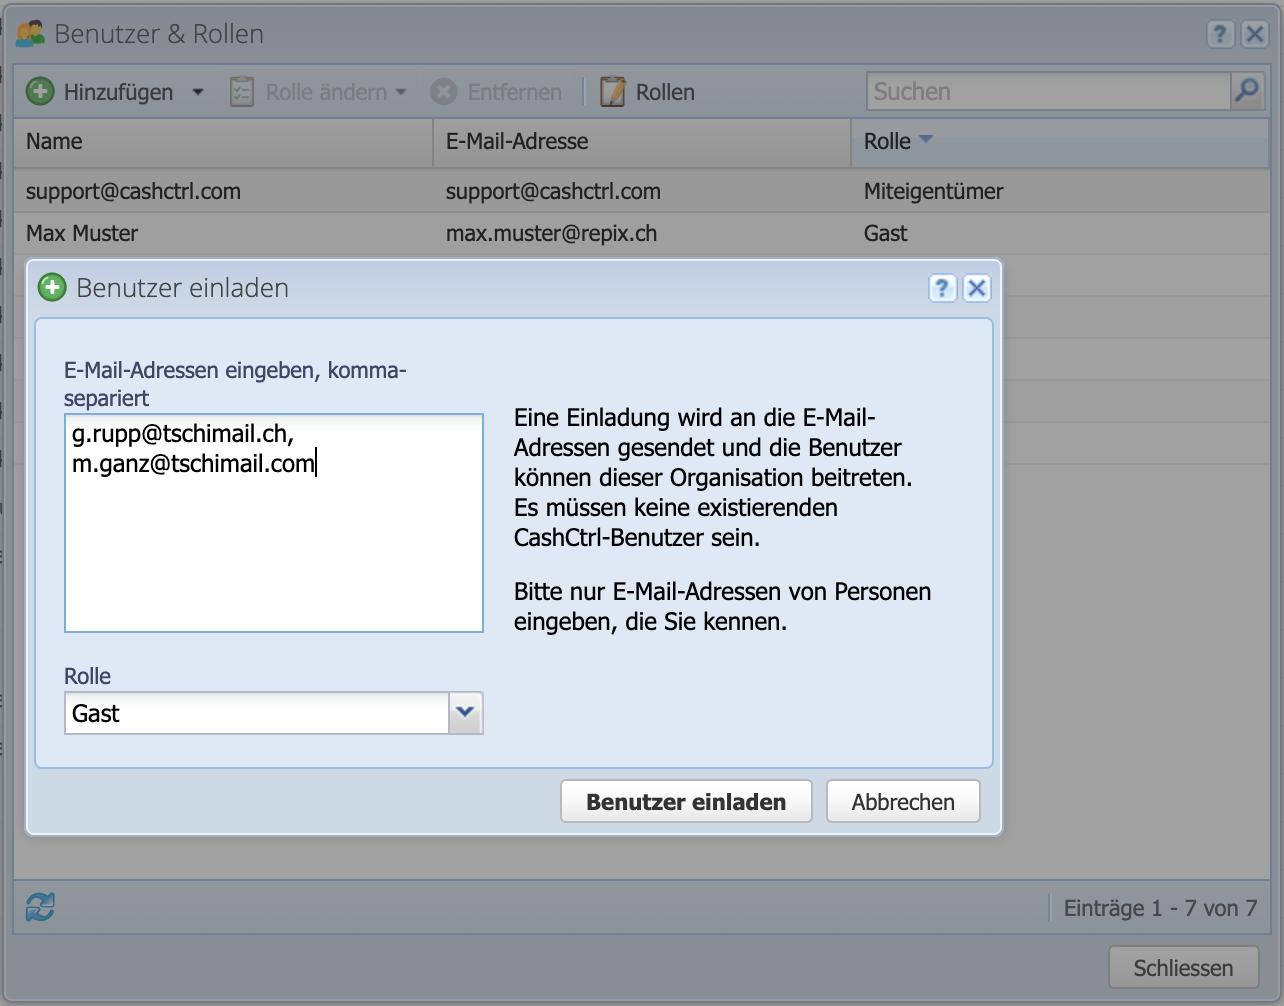
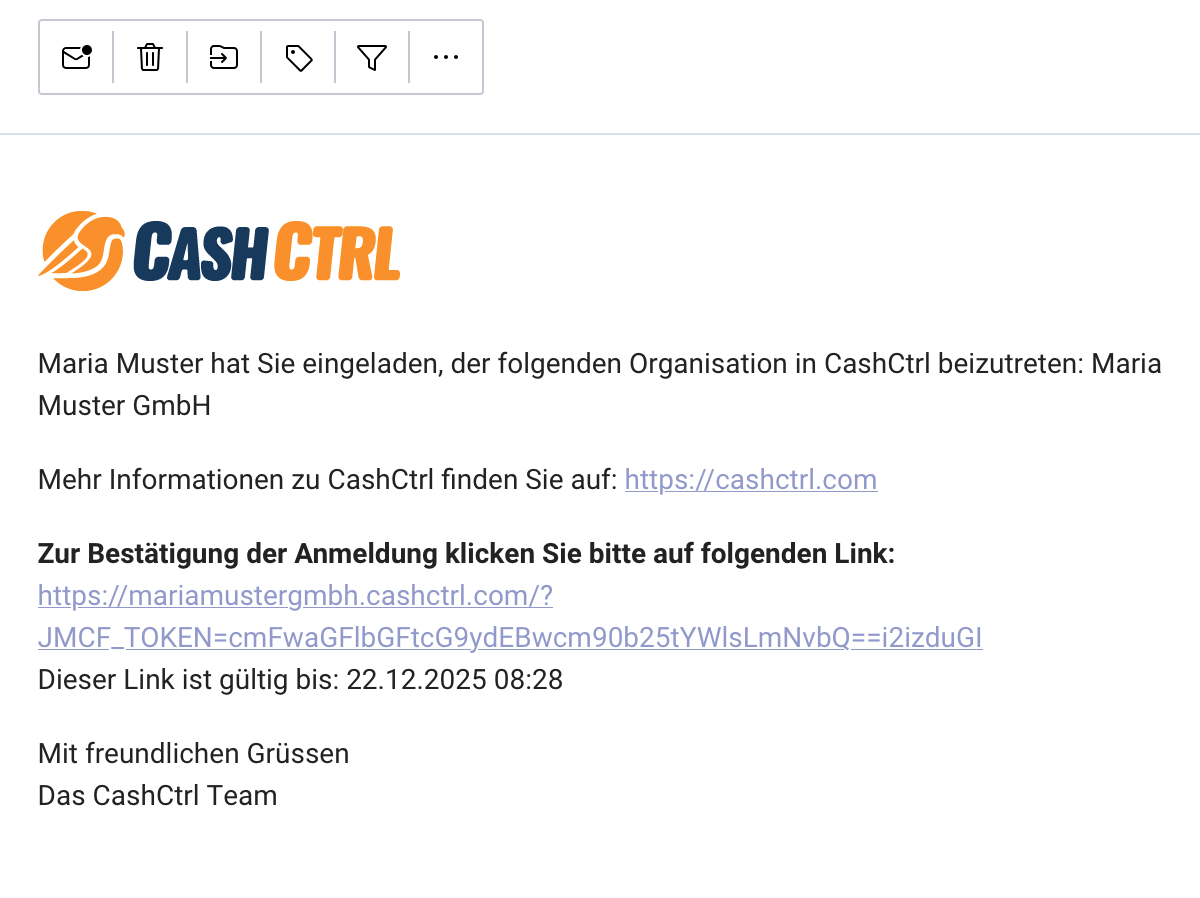
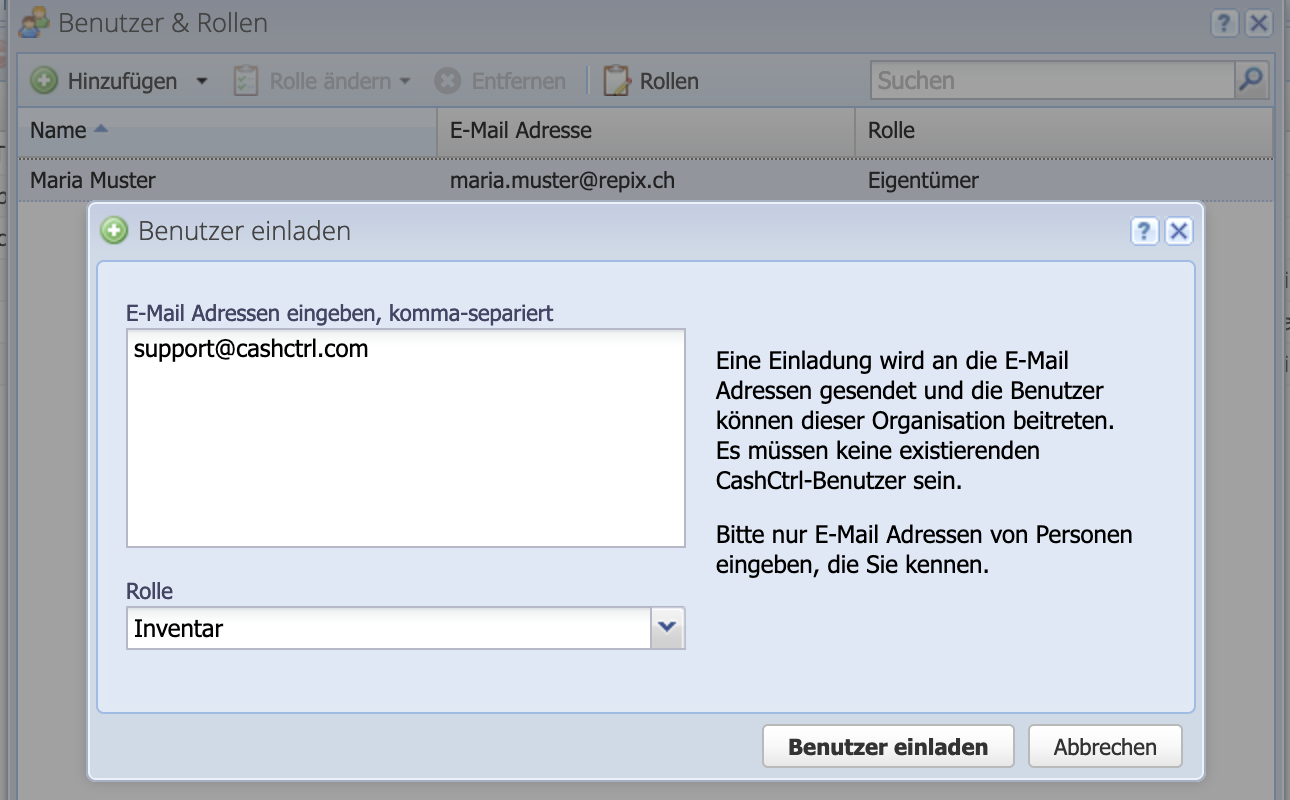
Click on the organization in the top right and choose Users & Roles from the dropdown menu. Open the dialog via Add / Invite user.
Enter the email addresses individually or separated by commas, then select the appropriate role.
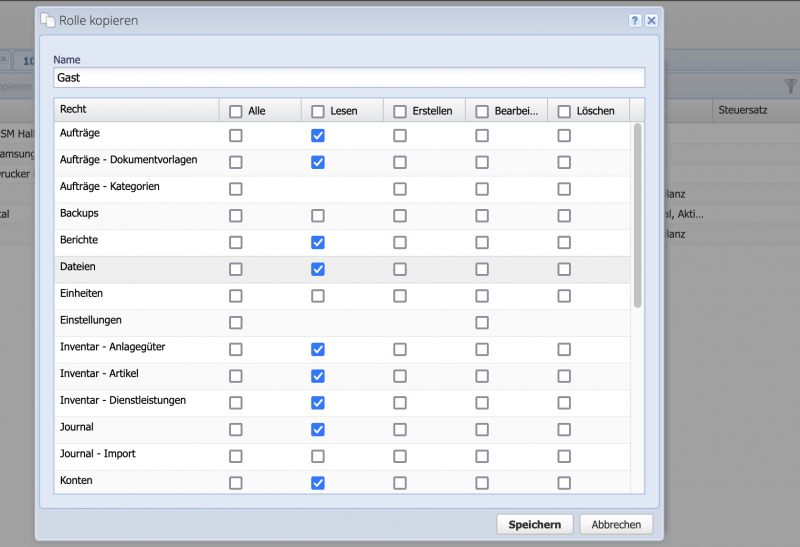
Guest: Read-only access
Administrator: Read / write / delete access
Trustee: Read / write / delete access
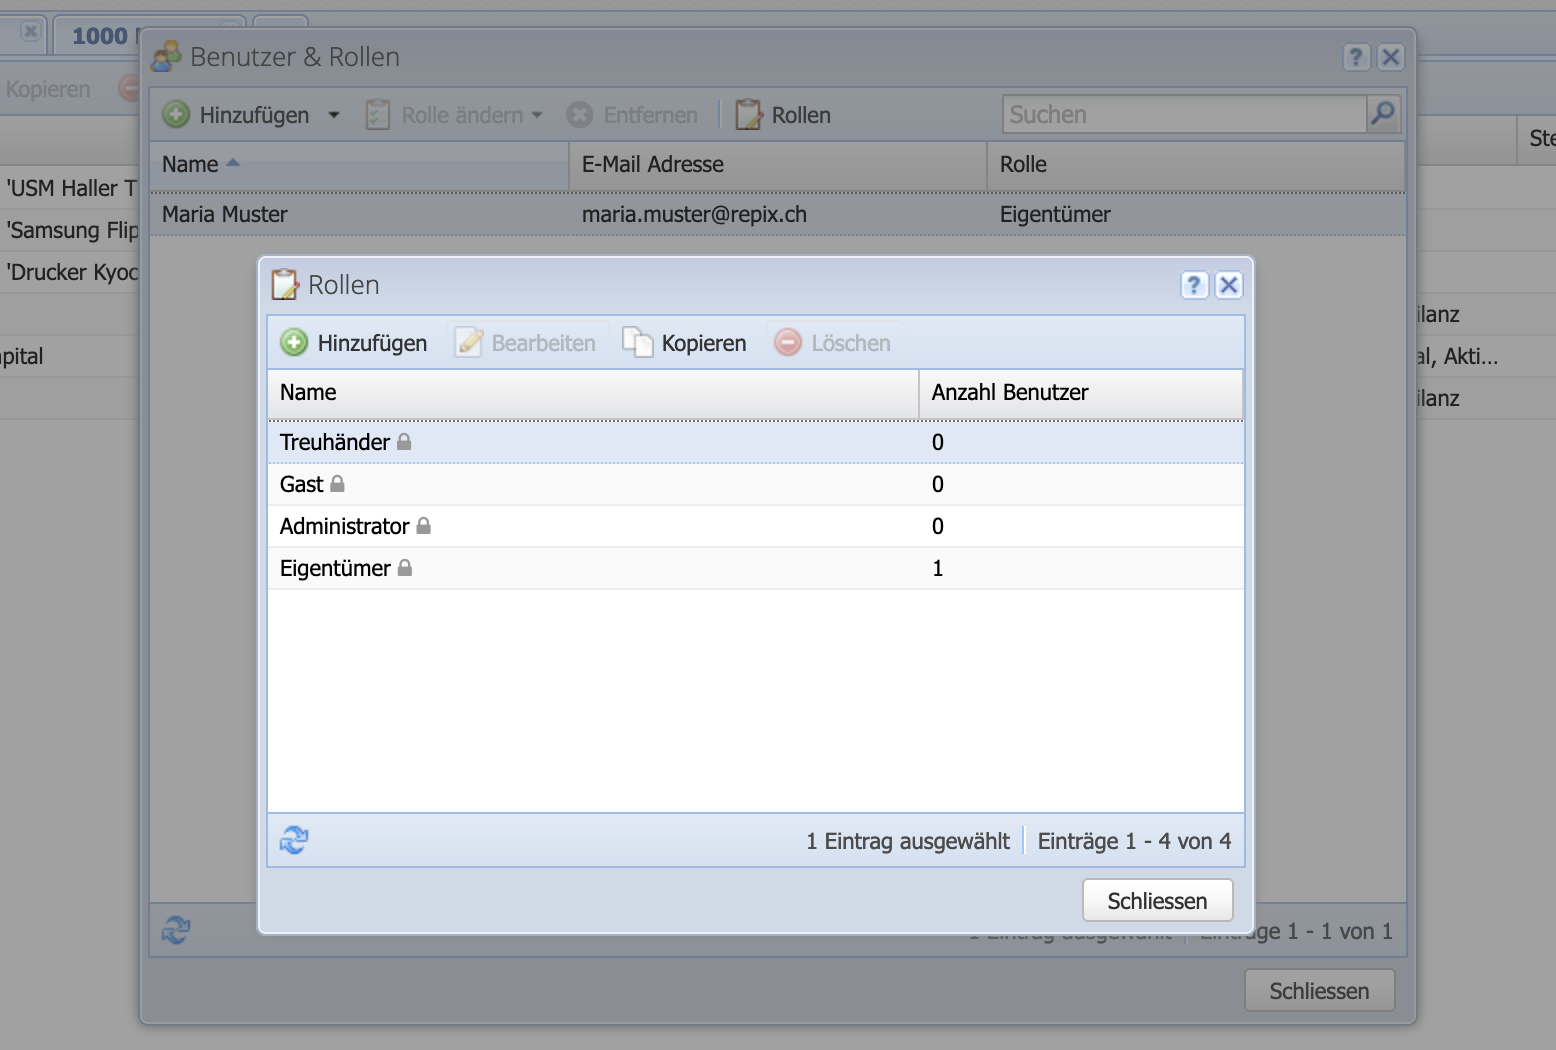
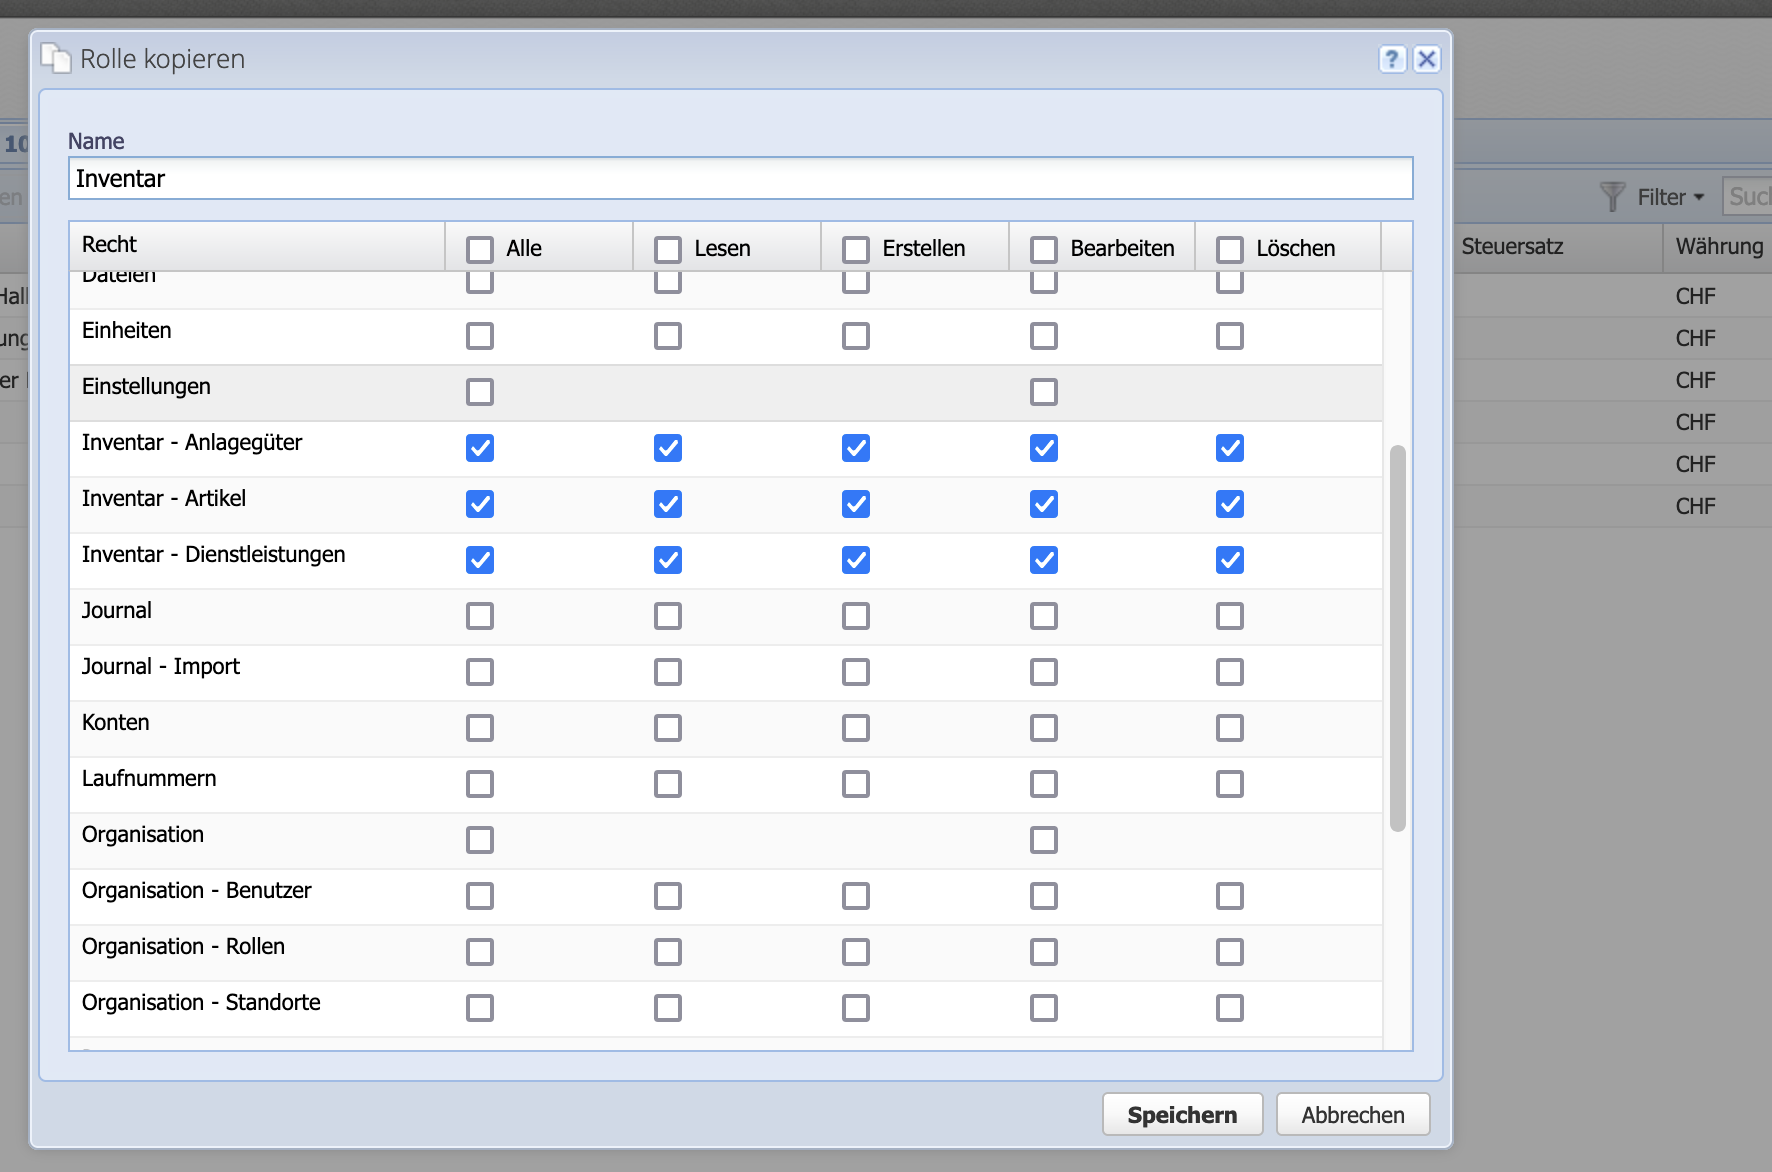
The exact permissions of each role (including newly created ones) can be configured in the Roles menu. To finish, confirm by clicking Invite user.