A picture says more than 1000 words. Sometimes a description is not enough and an item, an object must be shown as a picture.
Please enter a search term.
Error ~ No results could be loaded.
Item images on invoices and other documents
Tutorial: Design invoices with appealing item images and store the photos with the item in the inventory or upload them manually when creating the invoice.
Content
- Add images to the article in the inventory
- The article overview
- Create document
- One image or several images?
- Choose the layout
- Result
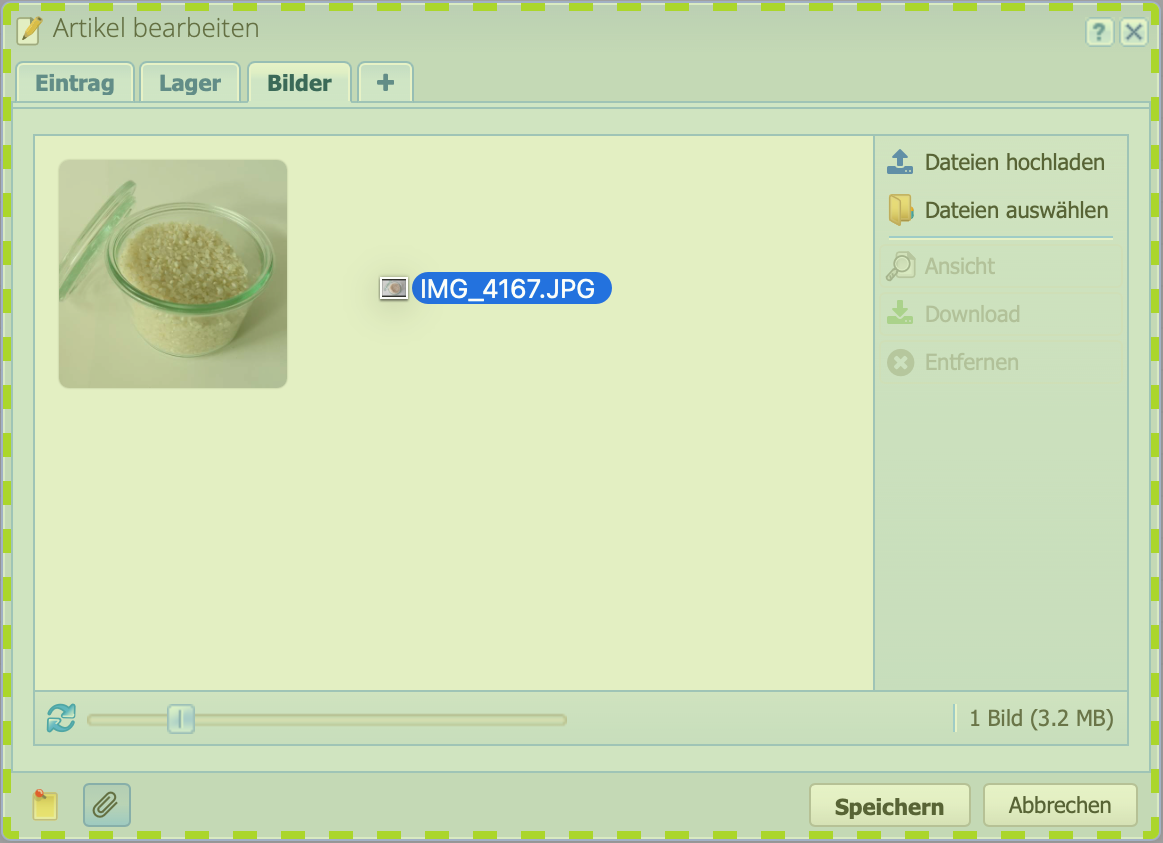
1. Adding item images to the inventory
In the Inventory module, open an item using the Edit button or by double-clicking on it. Select the Images tab and drag and drop files into the window or add them from the file manager or computer. The first image is automatically the main image. Drag images with the mouse into the desired order.
To keep a good overview of the images, it is recommended to set meaningful file names (not like we did here) or to enter a description to the uploaded image.
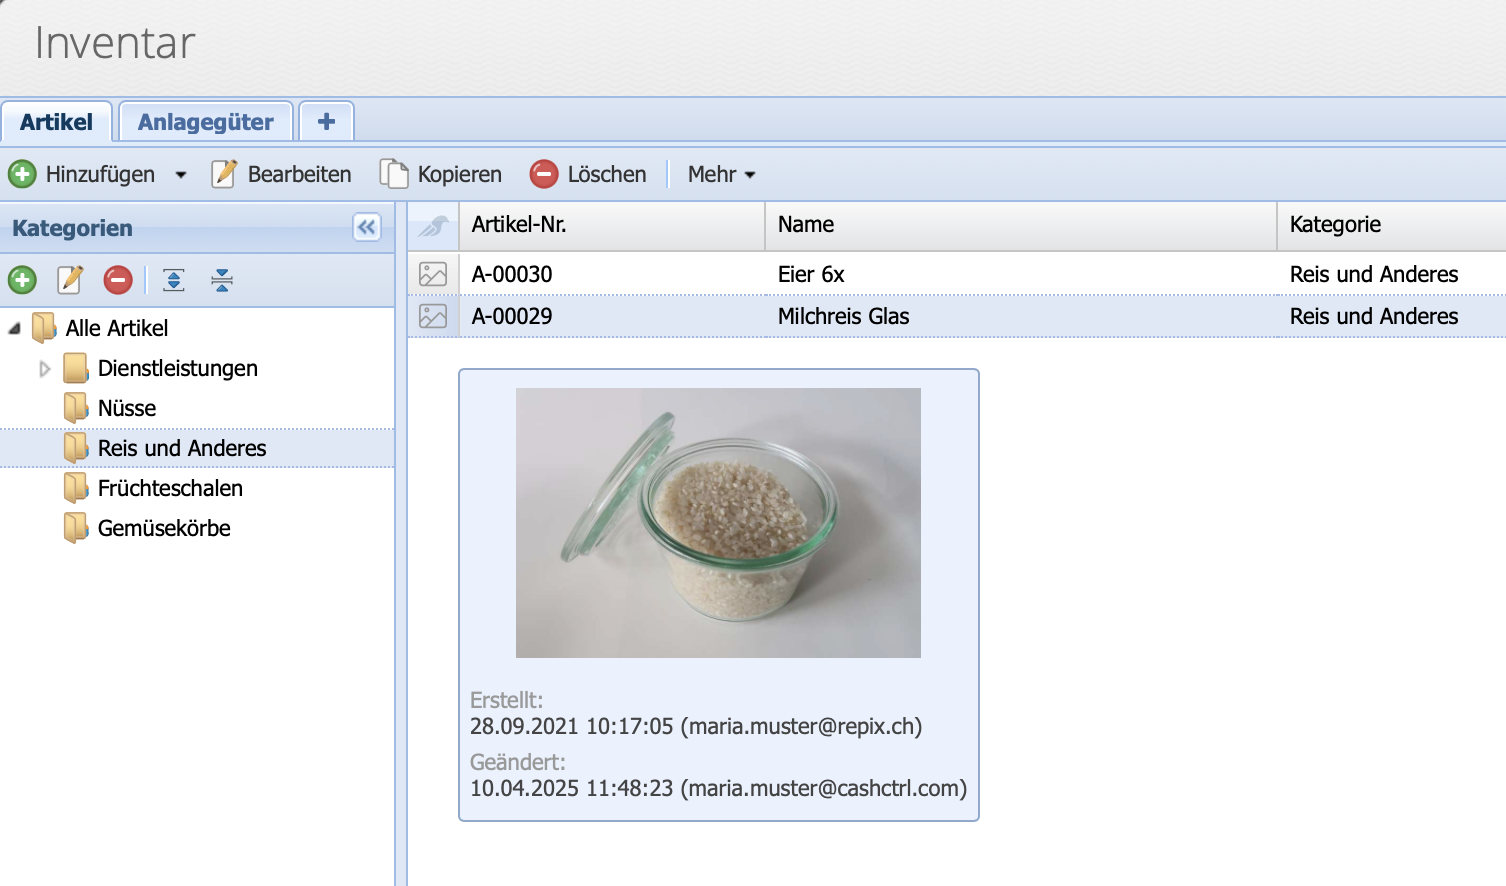
2. The article overview
If an article has assigned images, the icon appears in the info column on the far left. You can hover over it with the mouse and the image will appear. It is always the first image in the gallery that is shown.
3. Create document
Creating an invoice is the same as always. If items already have images, they will be displayed, otherwise images can be uploaded directly.
Images uploaded in the item dialog during invoice creation remain stored in the file manager, but are not assigned to the item in the inventory.

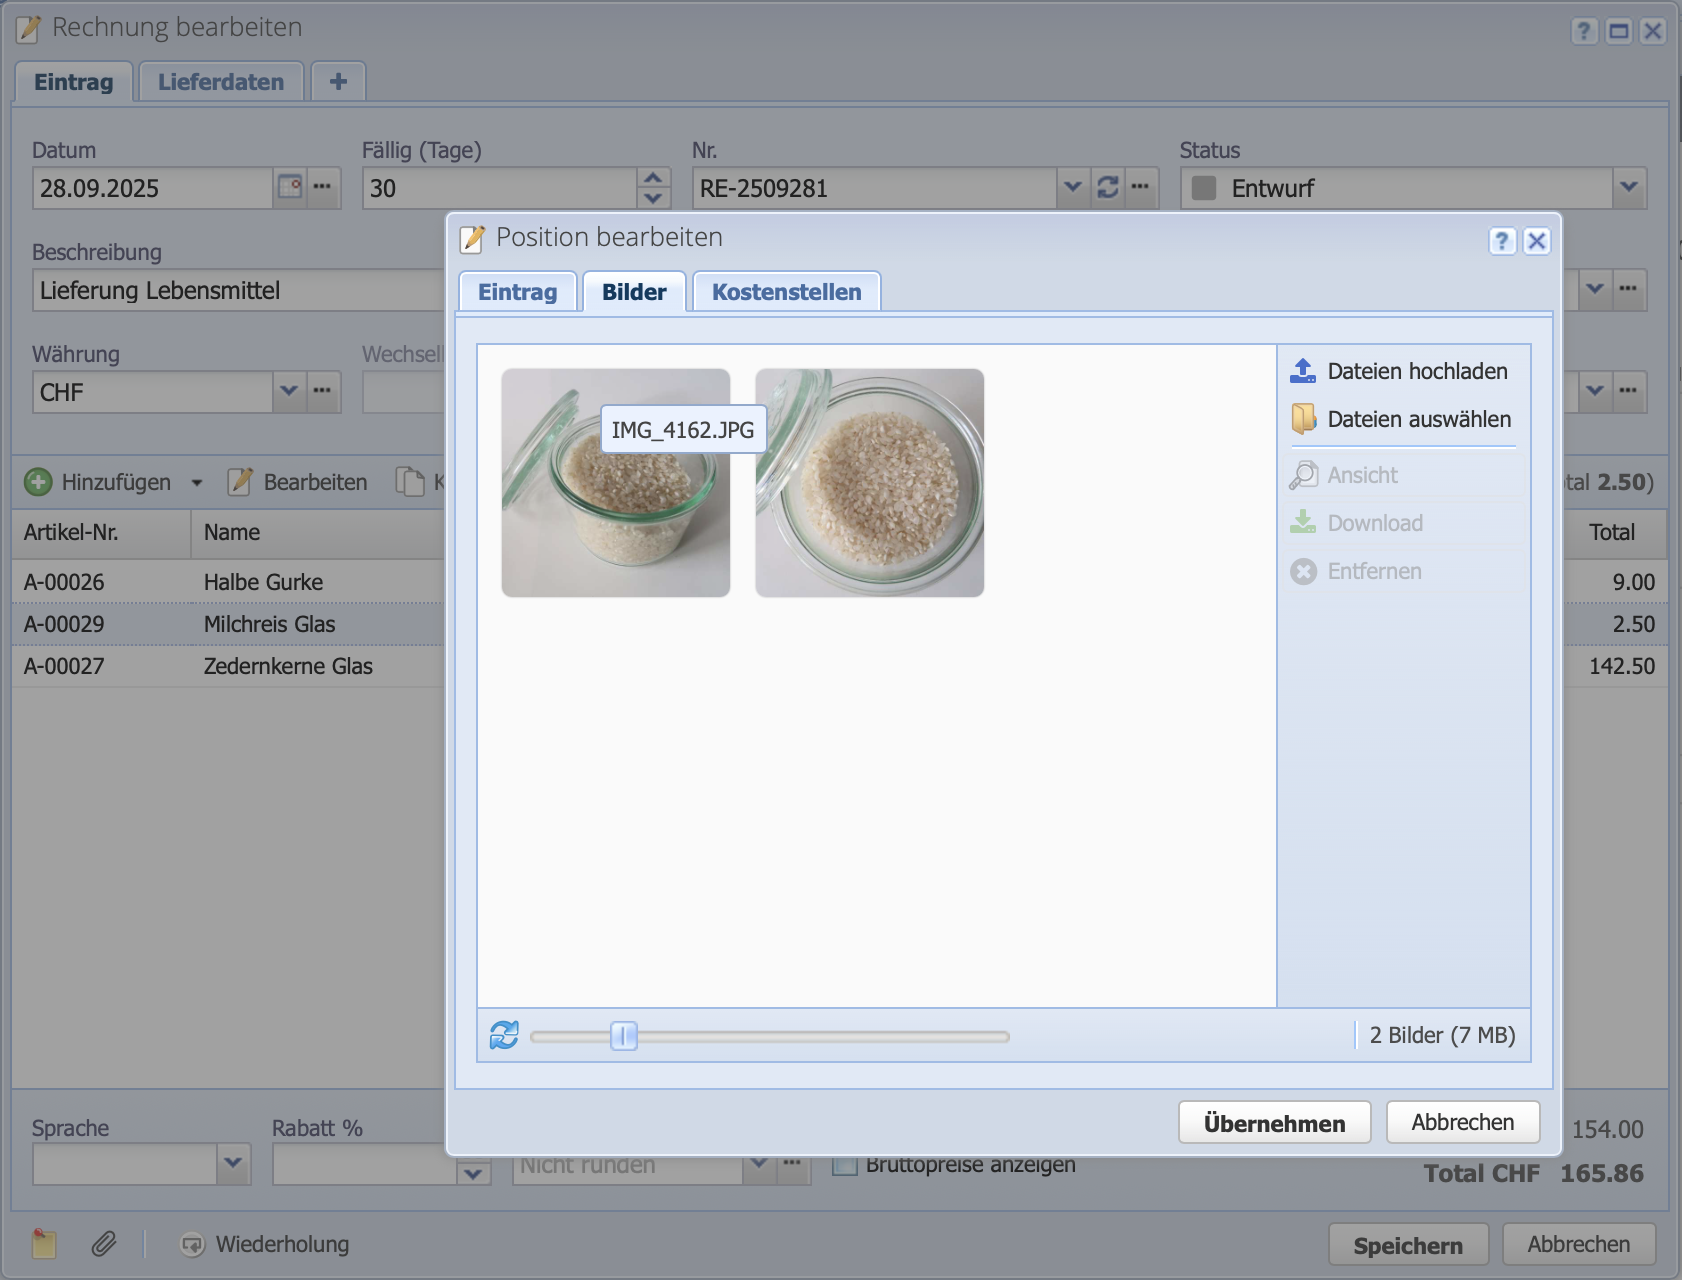
4. One image or multiple images?
CashCtrl shows all available images in the Images tab per item. Modifications in Postitions dialog have no effect on images In the inventory. If only one image is available, the one on the document will be displayed automatically.
If an article has several stored images, unnecessary ones can be removed and the desired image can be dragged to the first position.
A maximum of 4 images per article are possible on an order document.
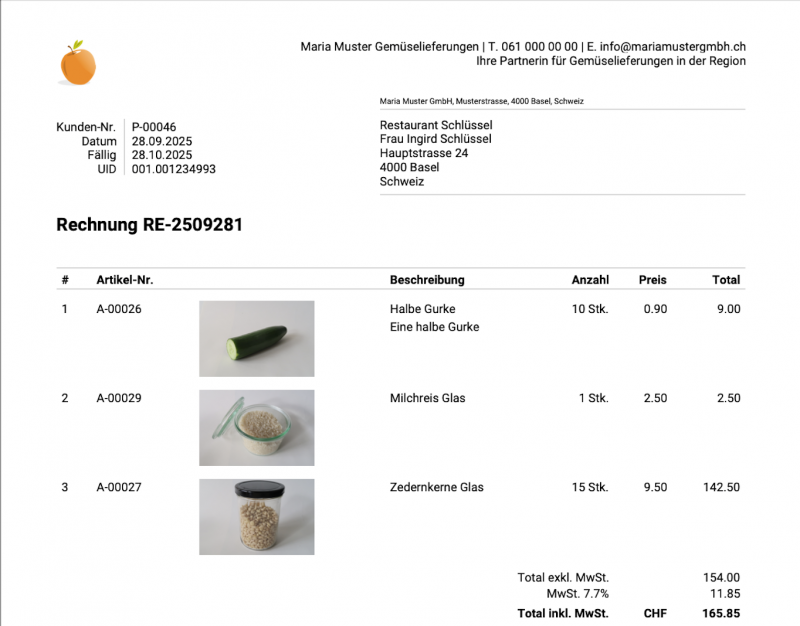
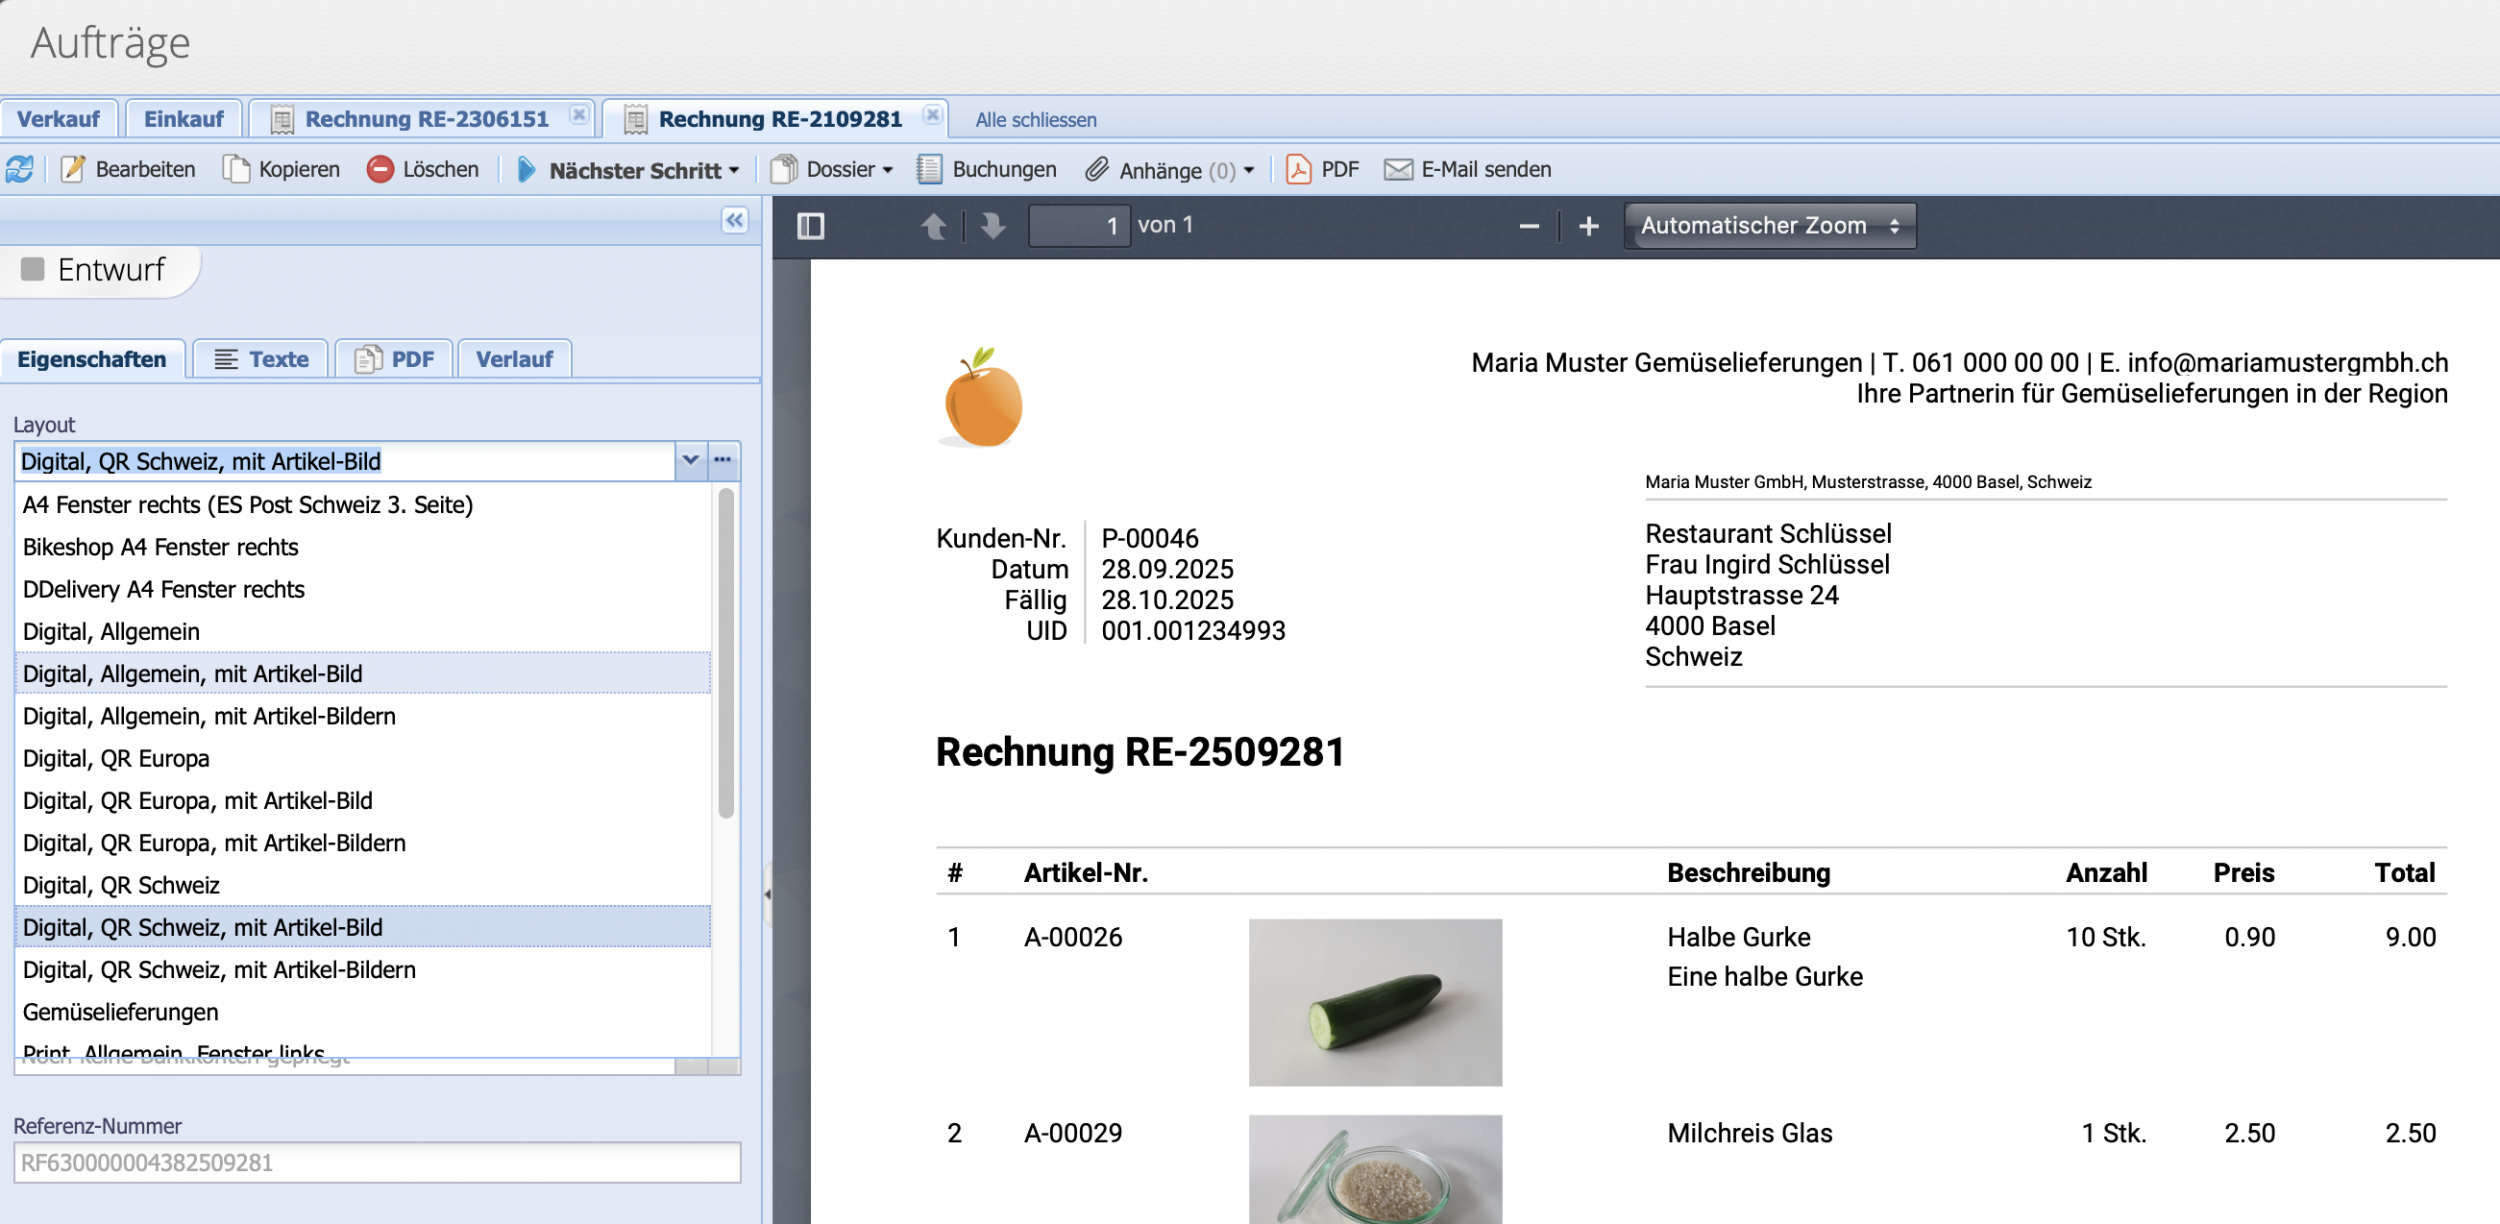
5. Select the layout
After opening the preview of the document via Save & Open, the layout can be selected. Select the desired layout with the addition "with article image(s)" and voilà, the positions now have nicely structured images.
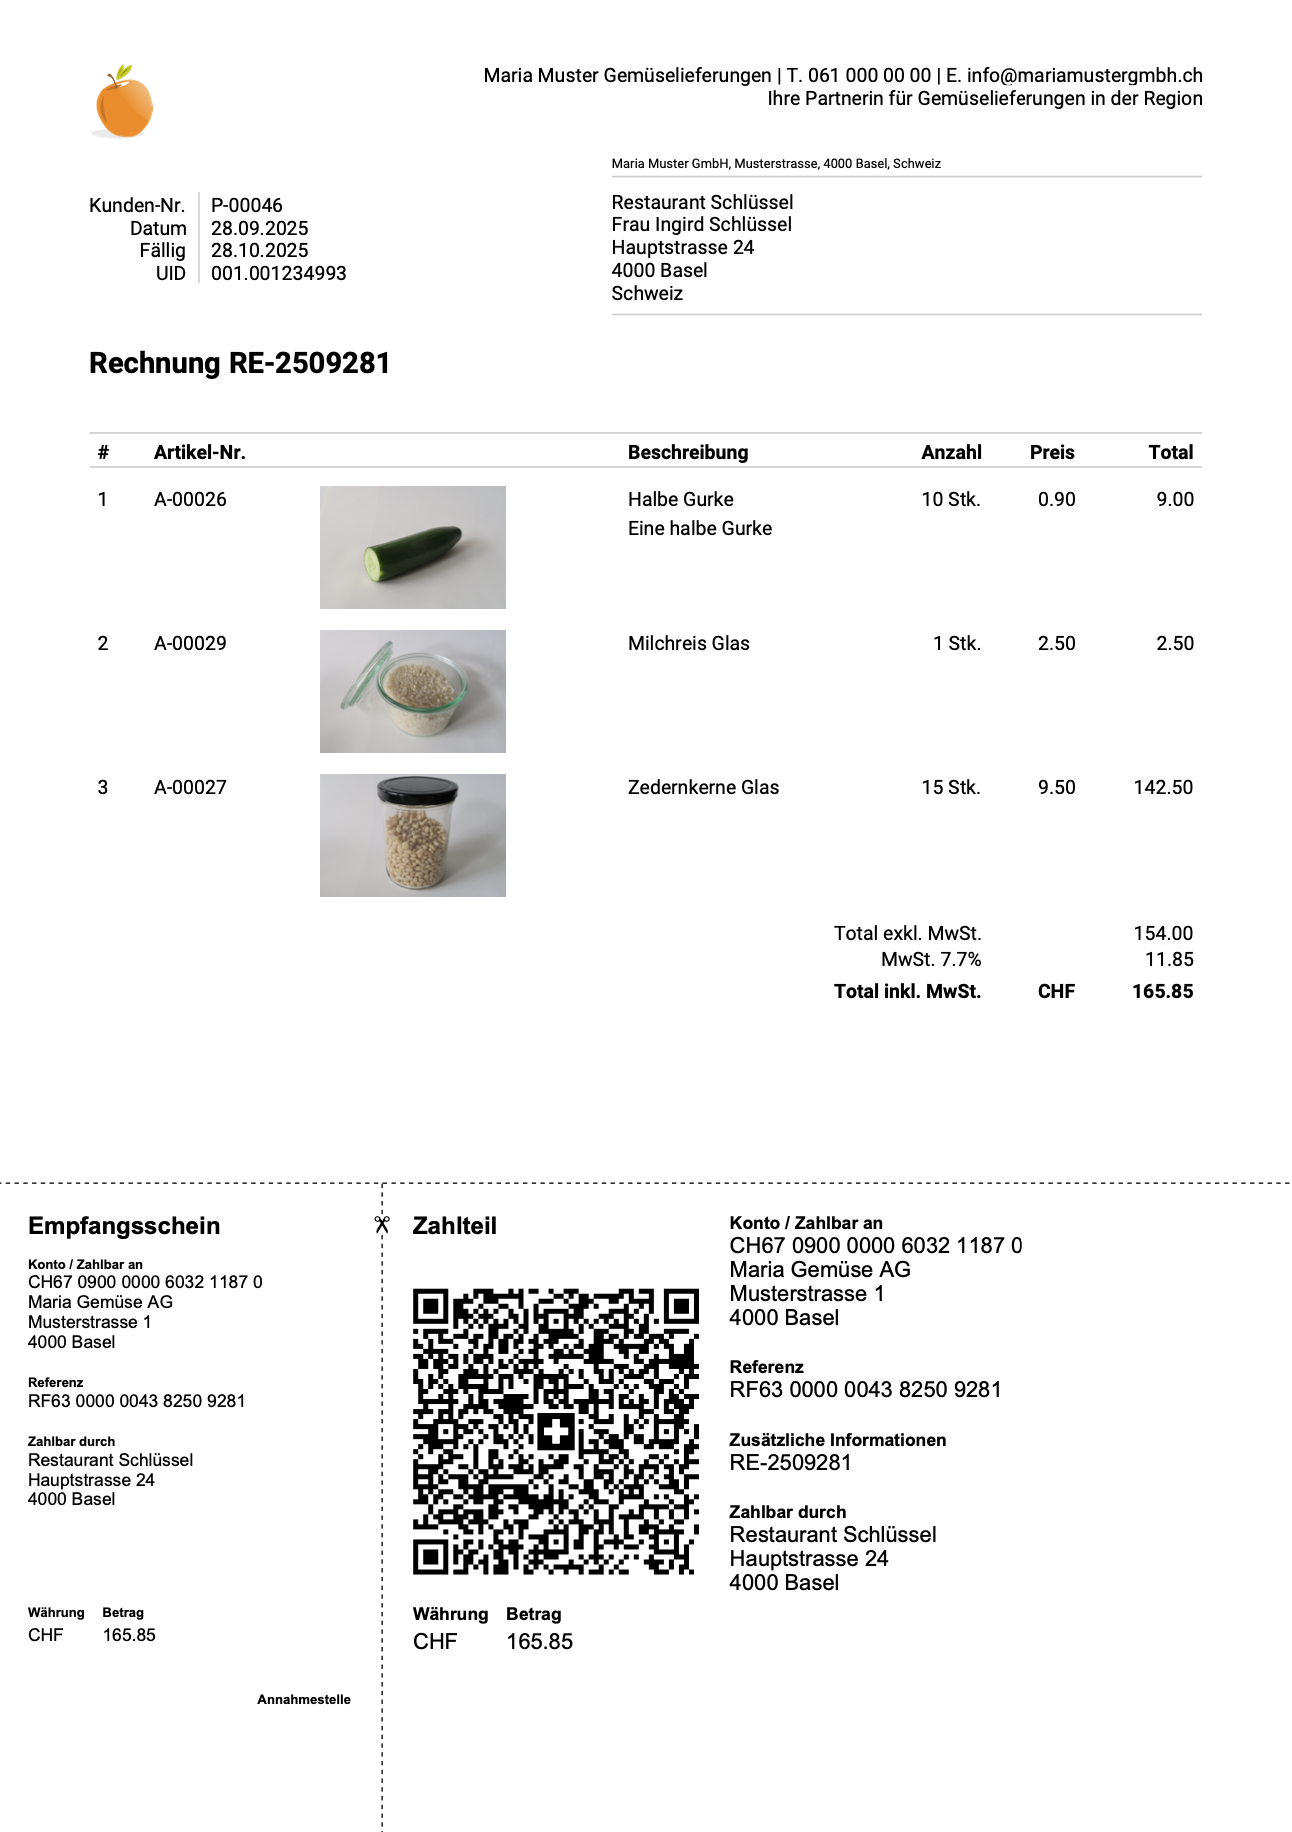
6. Result
And because we like it so much, here is the finished document with several article images: