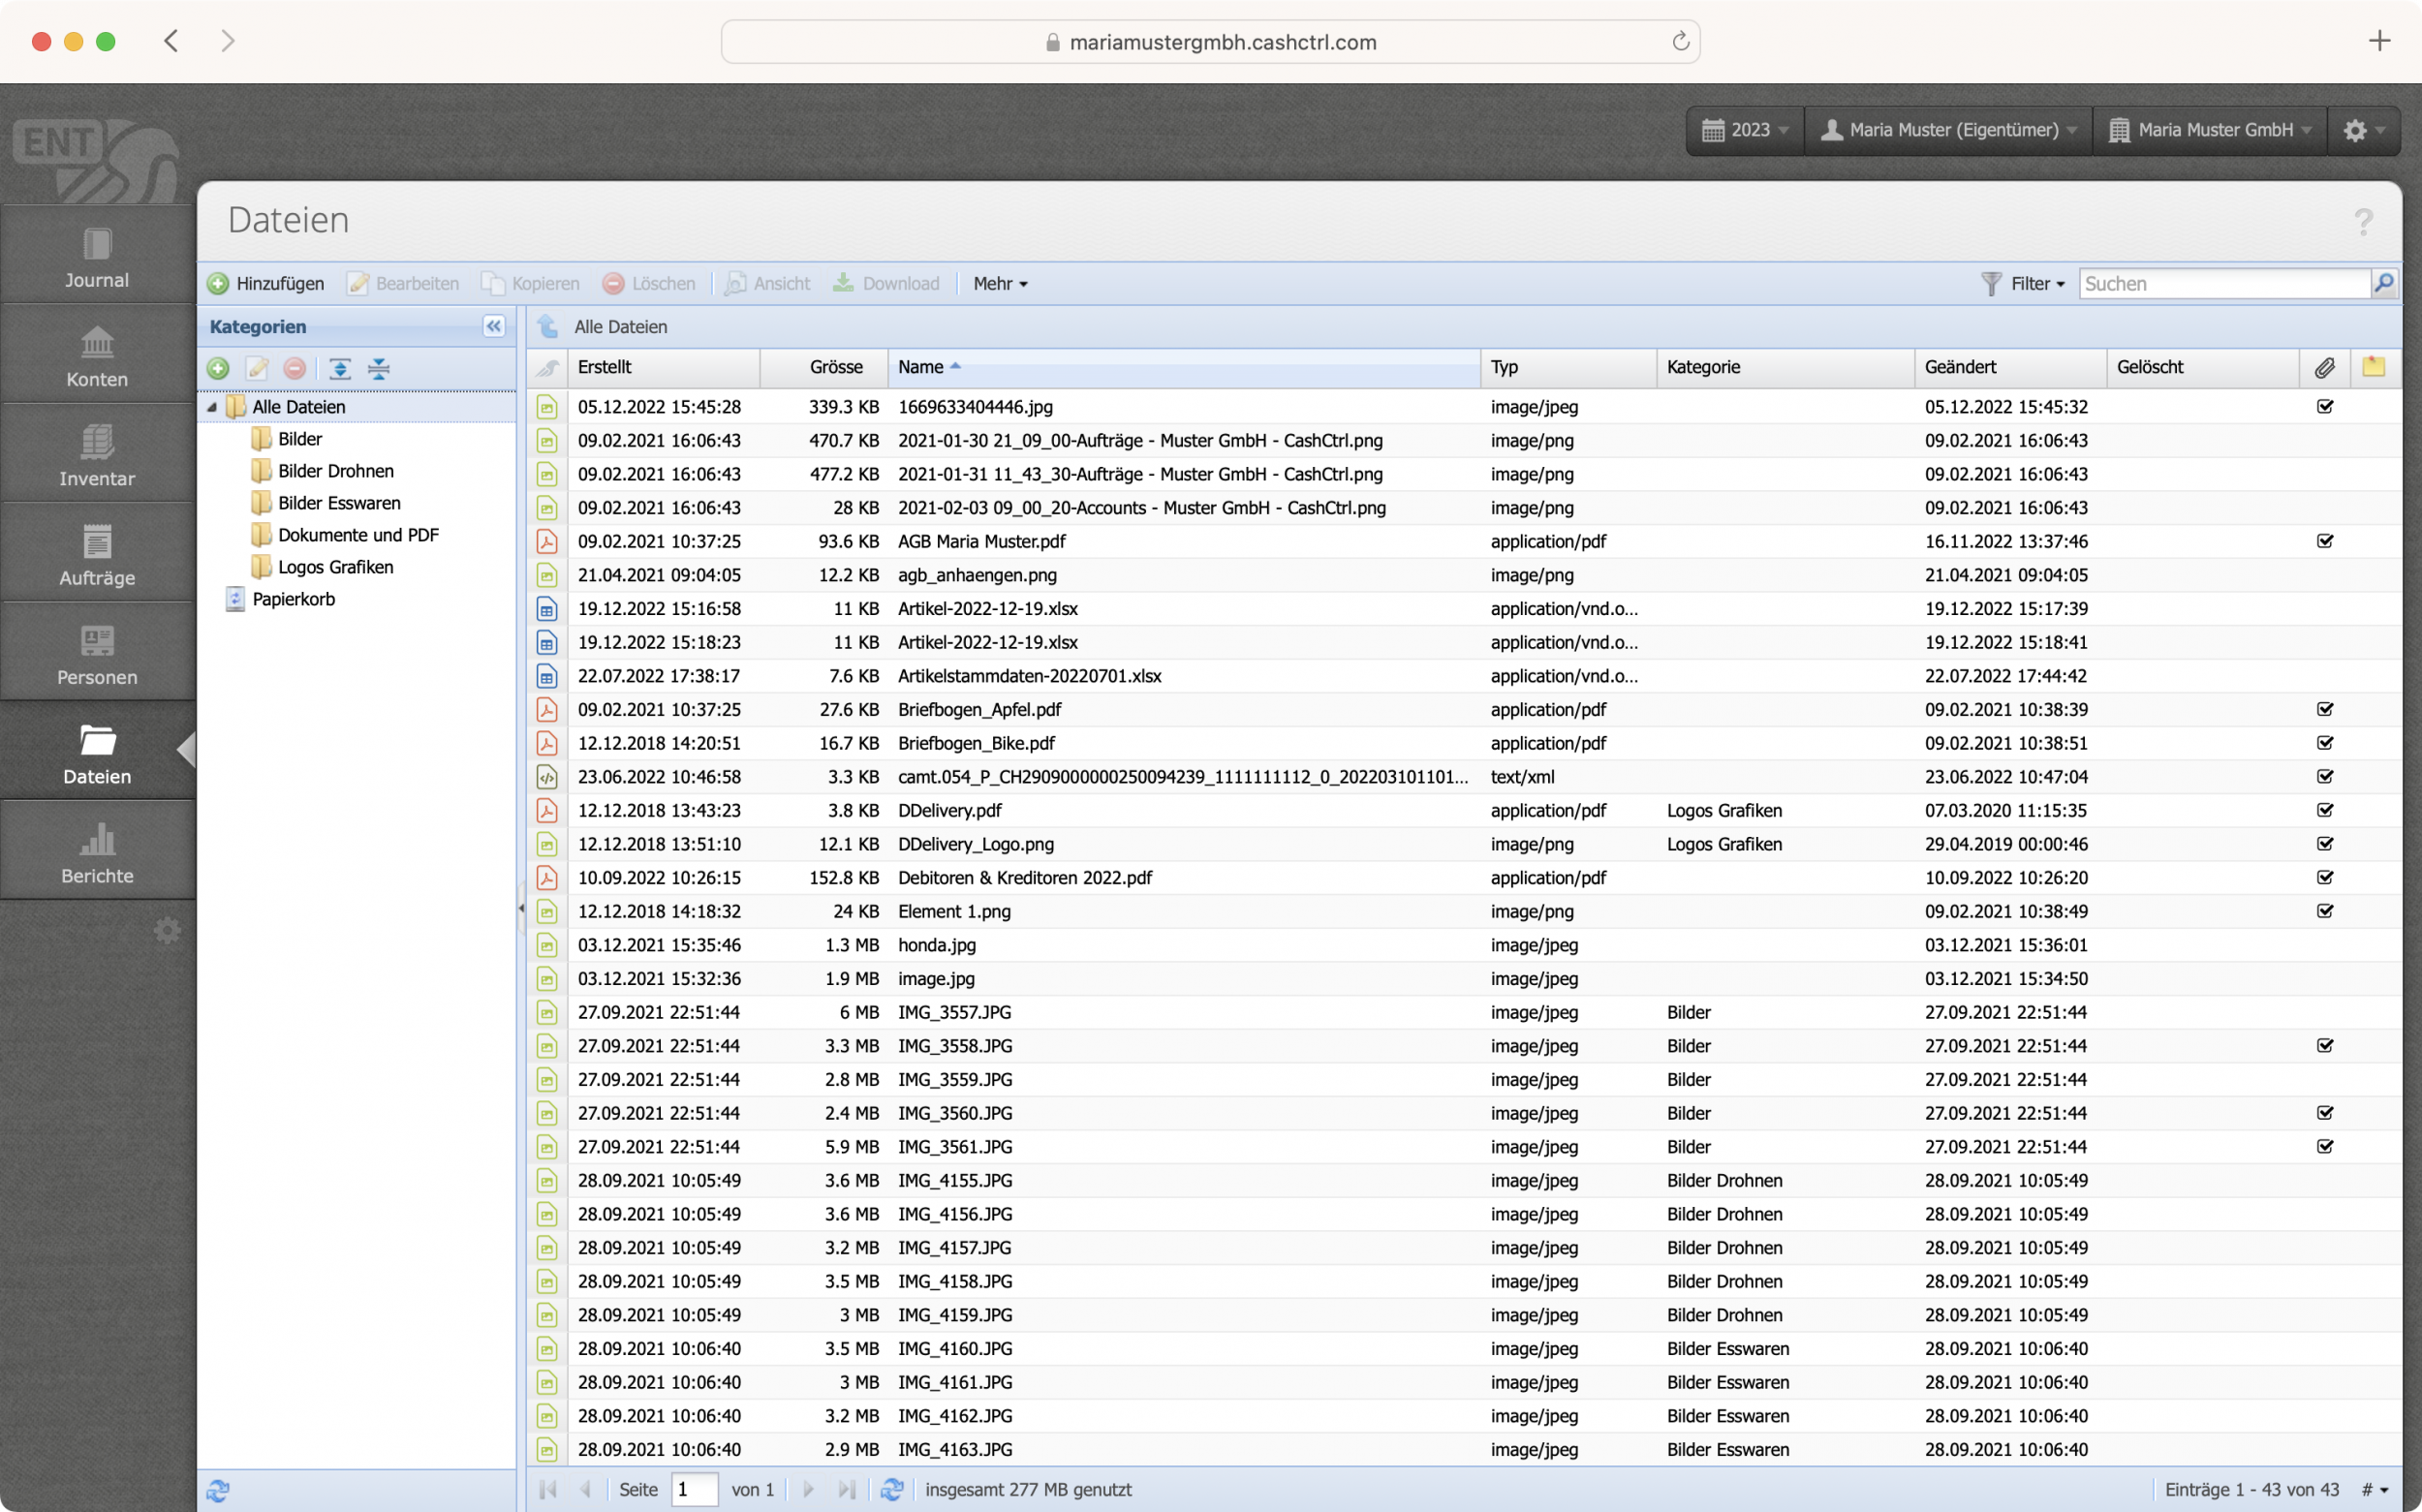
Uploading receipts, file attachments and file manager

Tutorial: Attach files and receipts to transactions and organize them in CashCtrl File Manager.

Content 

  1. File Manager
  2. Upload and replace files
  3. View
  4. Attach receipts and files to book entries
  5. Attach documents via drag & drop
  6. Remove attachments
  7. Good to know
Screenshot of the upload of a receipt via drag & drop

1. File Manager

The File Manager is the main area for files. The manager shows an overview of all files available in CashCtrl. Imported vCard and camt files are also stored here. Files can be sorted, modified, deleted and assigned to new categories.

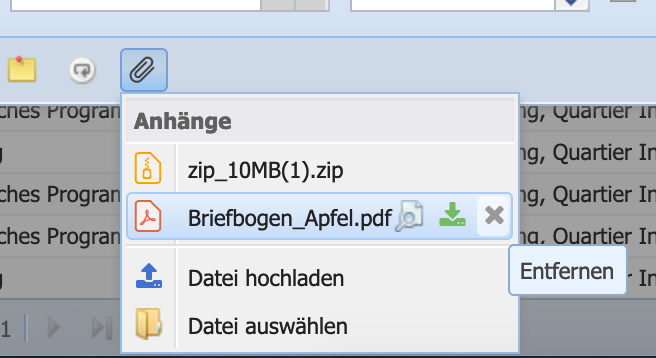
The column with the paperclip symbol indicates if a file is used somewhere. If a file is deleted, it is first in the recycle bin and can be definitely deleted with Empty recycle bin.

Screenshot file manager in CashCtrl

2. Upload and replace files

Upload 1: One or more files can be dragged directly into the File Manager window.

Upload 2: Single files can be added in the upload dialog via Add. There you can also enter a description and further information.

CashCtrl recognizes the file extension and shows the corresponding icon.

Replace: If you want to replace a specific file (e.g. a PDF file), you can open the file via Edit or double-click on it and select and confirm it via the Replace button. This way all links remain but the new file is linked.

Screenshot of the dialog window for adding a file

3. View

Double-click on a file to open the detail view. The original file is displayed (if possible). With the arrows at the bottom right you can jump to the next file.

Keyboard shortcuts are alternatively possible, see keyboard shortcut tutorial

Screenshot of the preview view of a file in the file manager of CashCtrl

4. Attach receipts and files to transactions

Files can be attached anywhere via the paperclip symbol .
A file can then be uploaded directly or an existing one can be selected. Click on the paperclip and select the option.

Any number of files can be attached.


Screenshot of the dialog window where files can be attached via paperclip icon

5. Upload documents via drag & drop

If you have to book a lot of documents manually, it might be easier to attach them directly. Using drag and drop, the file of the document can simply be dragged into the booking dialog. This way it will be attached automatically.

Screenshot of how to attach a receipt directly to the booking dialog by dragging it with the mouse.

6. Remove attachments

If files are attached, the paper clip icon is highlighted in the dialog. Attached files can be removed again via the x icon. This does not delete the file itself, but only the link to the booking or order, etc.

If the file is to be deleted, it must be definitely deleted in the file manager.

Screenshot of the deletion of a file in CashCtrl.

Good to know:

For example, if receipts need to be submitted for the tax authority, files can be downloaded as a ZIP archive. It is possible to select all documents or only documents of a certain category. Simply select all desired files and click on Download.

By clicking the More button, the table of all files can be downloaded as Excel, CSV or PDF file.

Tip: Name vouchers stringently according to the same pattern, e.g. "2022-11-15 receipt Coop.pdf", so that they can be processed more easily later.

Screenshot of the menu bar in the file manager with Download and More button