1. Enter company address & logo
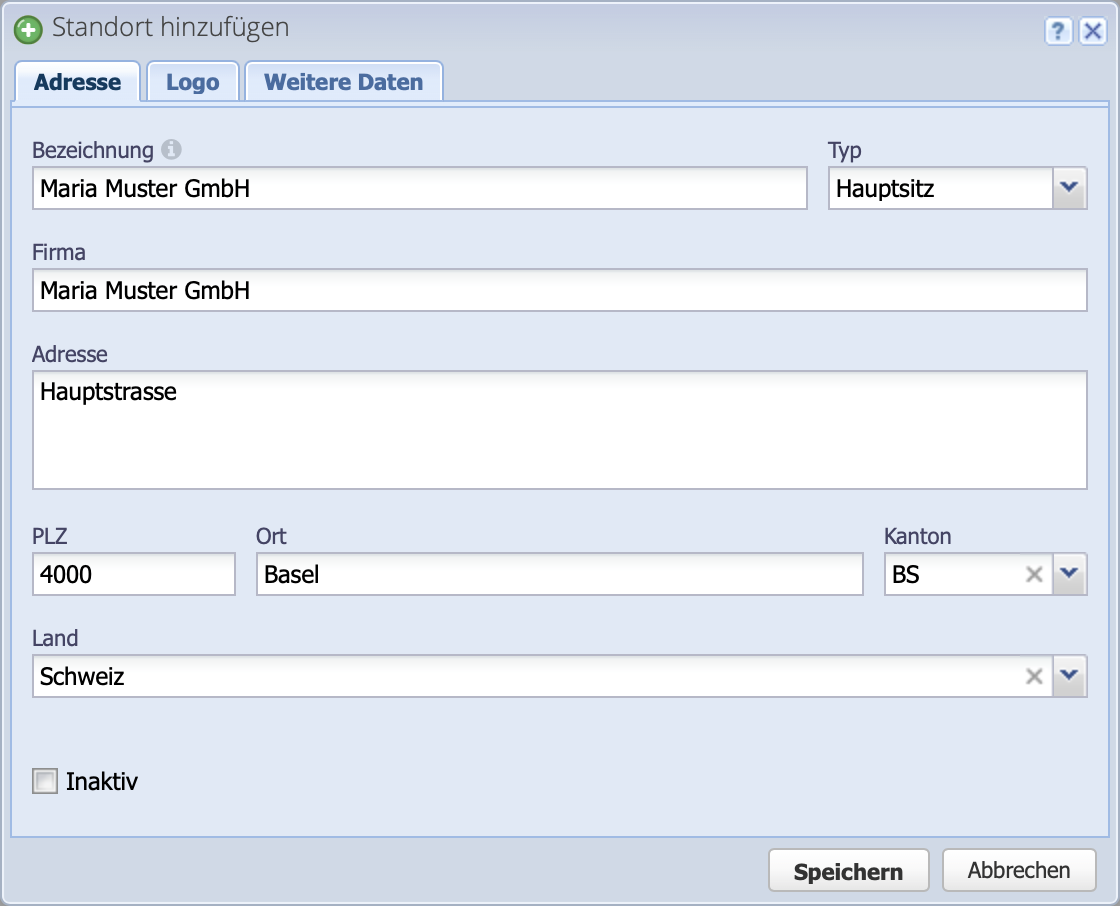
Enter a new location via Add and enter the corresponding address information. Multiple locations are possible, which can be selected as sender for orders.
In the Logo tab, a .jpg or .png file can be selected via file upload. The logo will be displayed on order documents and in reports.
The VAT number as well as the IBAN is specified in the tab more data.
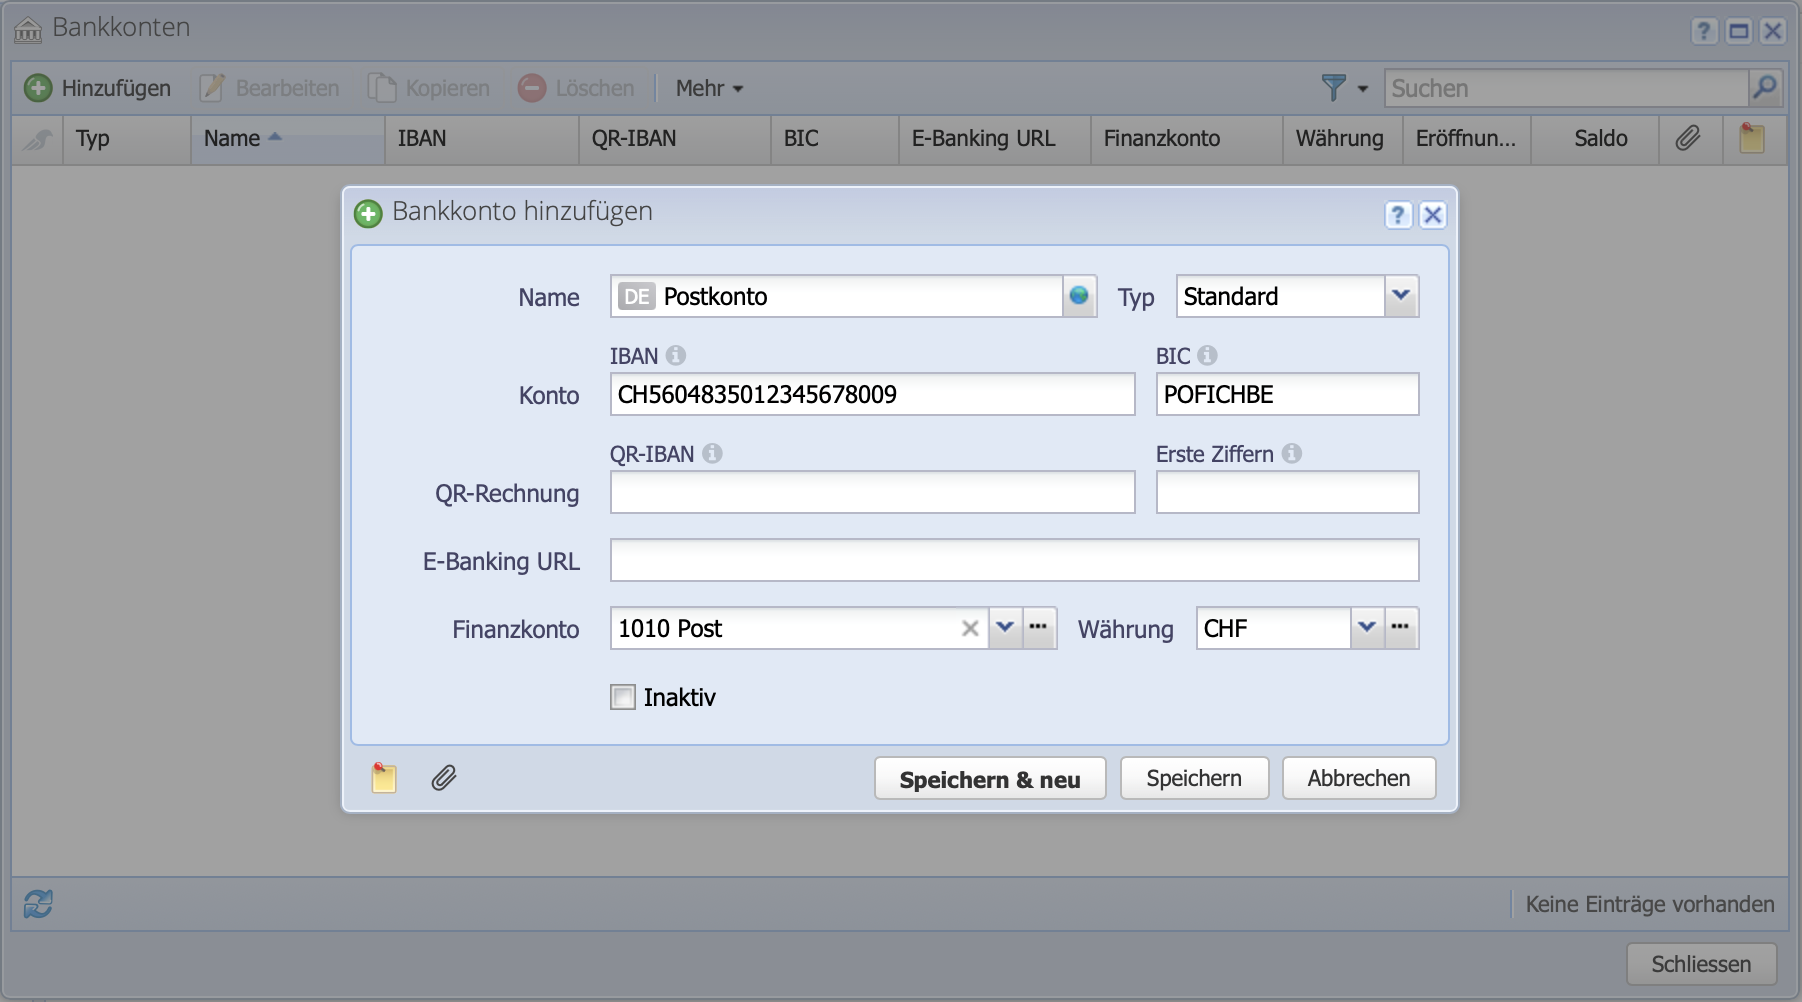
More info about creating QR invoices