Create a loan slip for rentals

Every business relies on a slightly different workflow. Workflows should be implemented in such a way that they are as error-free and clear as possible. In order to meet these requirements CashCtrl is structured in a way that own documents can be created. Maybe only a part of the tutorial is enough to inspire you.

Our tip: First sketch with pen and paper how your workflow should look like and then start working with the software.

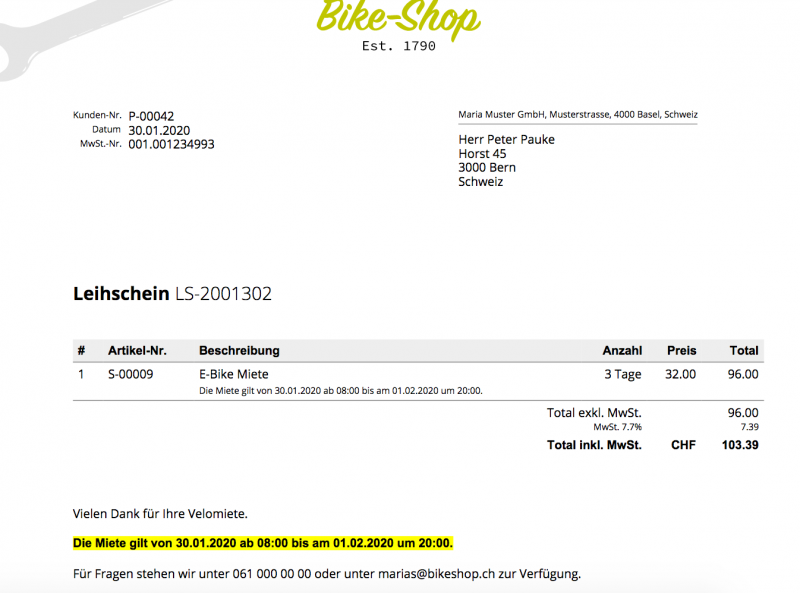
Ansicht eines Leihscheins aus CashCtrl

Our tutorial shows how to create a rental ticket for rentals. For this we use the company Marias Bike Shop, which runs a bike rental. The goal is to list a service as a position with a certain start and end date on the rental ticket.


  1. Create service category and enter services
  2. Create document category
  3. Create document template and define additional fields
  4. Fill document using placeholders

1. Create service category and service

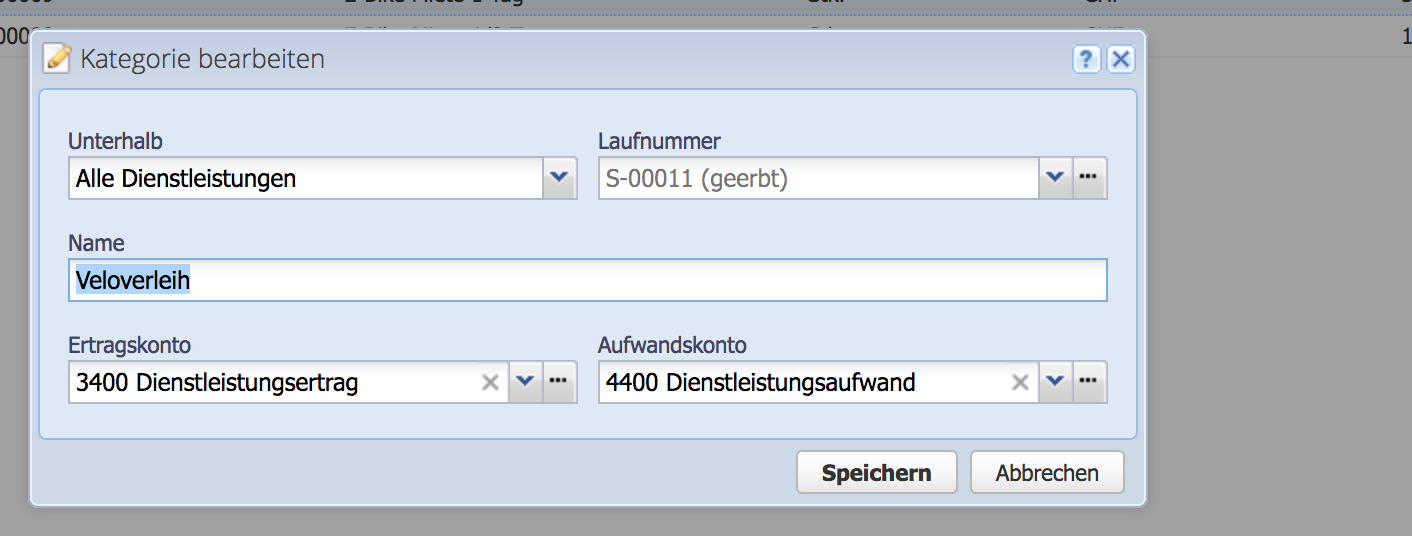
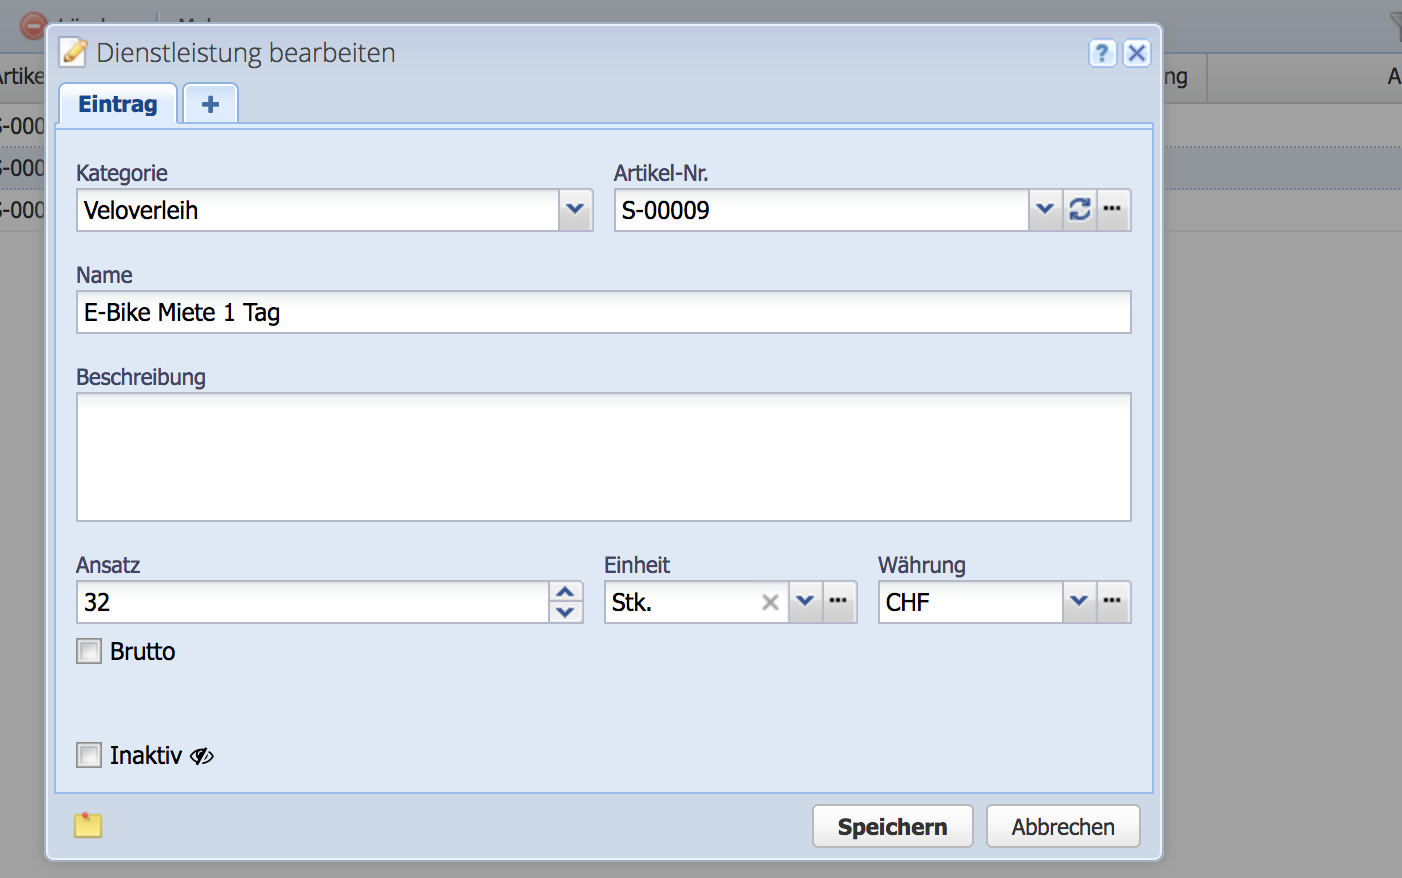
Create a new service category in the inventory, we will call it bike rental here and enter the different services using the Add button above.

Individual expense and revenue accounts can be assigned to a category. This breakdown can be used to generate more accurate reports showing which business areas are performing best.

Maria Veloverleih focuses on e-bikes, these are all rented out at the same approach. For tandems or other special vehicles, other services would also be included.

2. Create document category

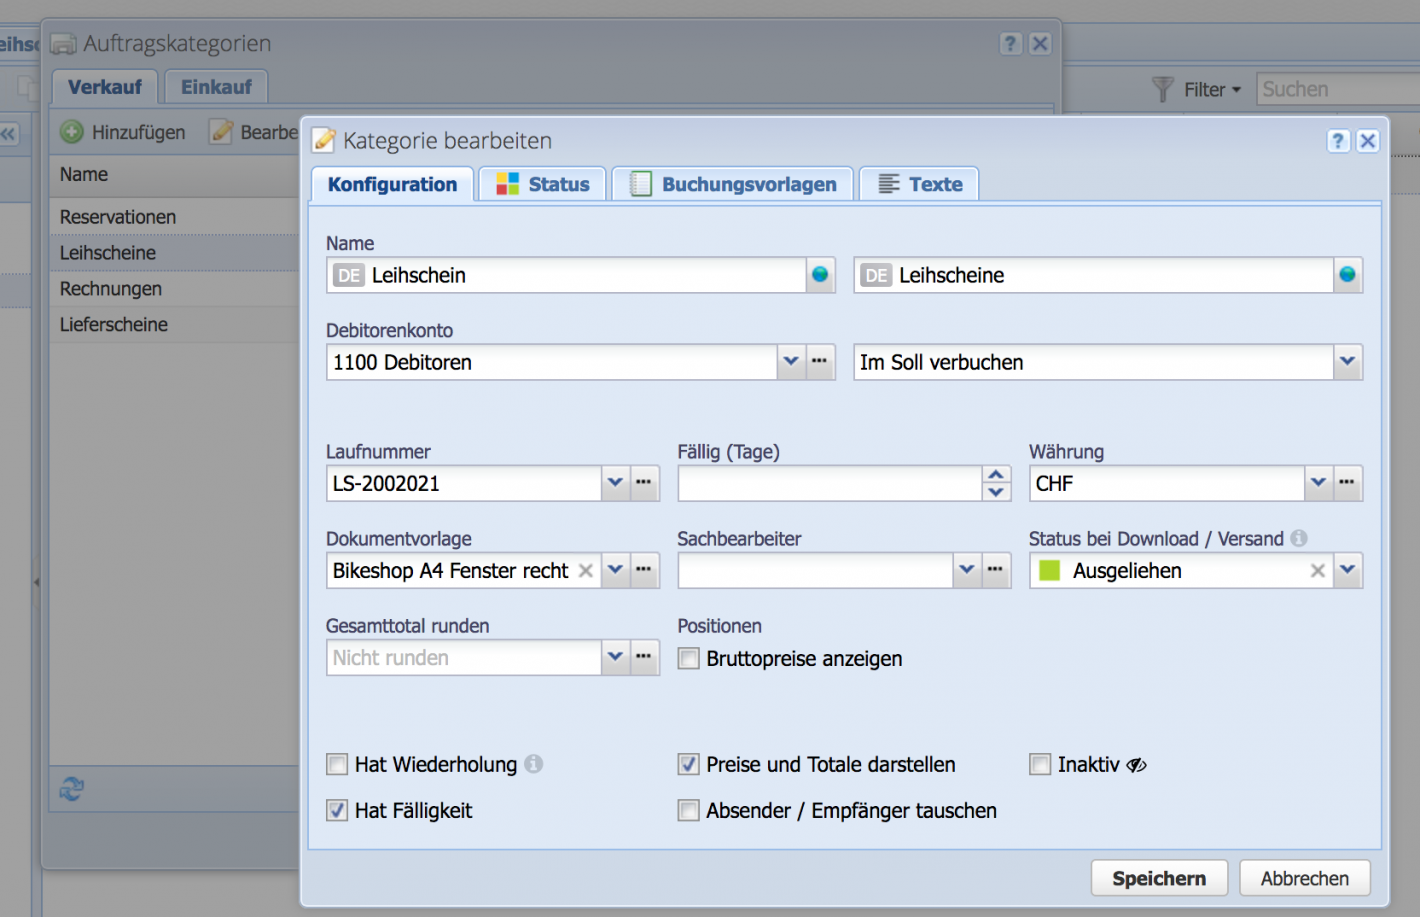
Switch to the order area. Via Settings/Order categories/Sales you create the new category Loan note.
The delivery note number now fits perfectly as a sequence number, so we choose this one. Otherwise enter your own via Settings/Run numbers. Under Status we set Open/Borrowed/Returned as status. Save the template.

Erfassen einer Auftragskategorie

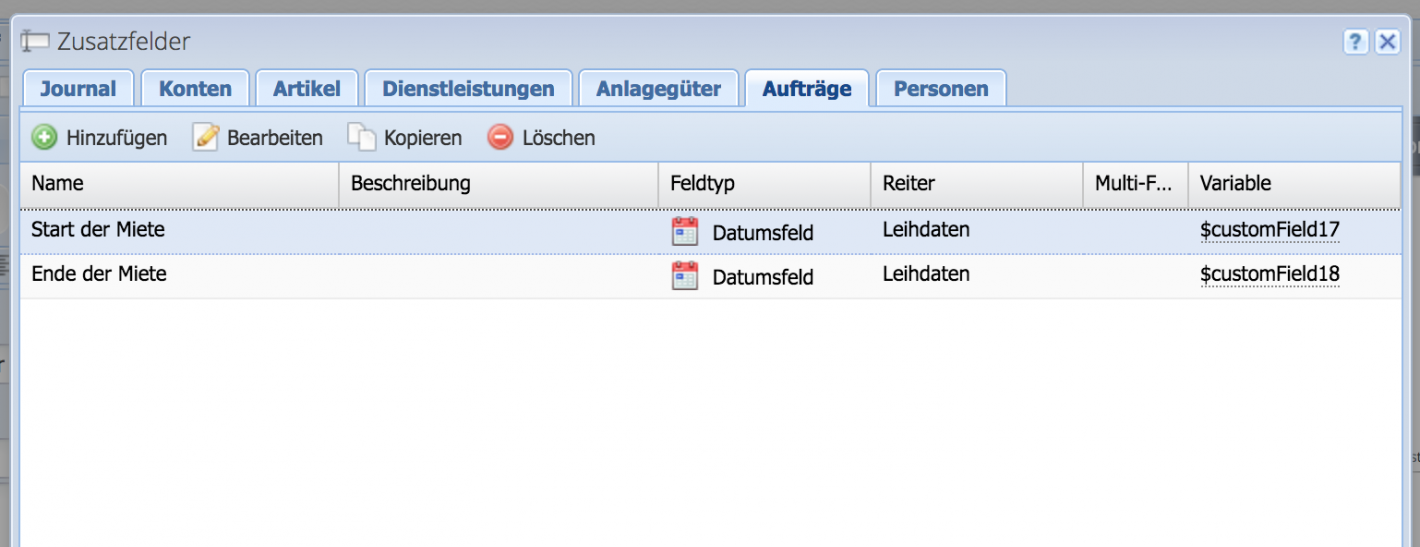
The start and end date of the rental should be indicated on the rental voucher. We use additional fields for this. We use Settings/Additional fields/Applications to enter two date fields and name them Start of the rental and End of the rental. We assign the fields to the tab Lending data.

3. Create document template

We jump to the document template. We will not go into detail about the design possibilities with CSS and HTML. As an adaptation for the tutorial, an A4 PDF was placed in the background as letter paper. Everything else is standard.

4. Fill in the borrowing slip

The template is ready, now we fill the document. Maria Muster Veloverleih rents a bike for one day. Not much yet, but Maria is confident that the business will flourish. We switch to the rental data tab and enter the two data and then the positions.

Option: In the description text we use the two variables of the additional fields: $customField17 and $customField18.
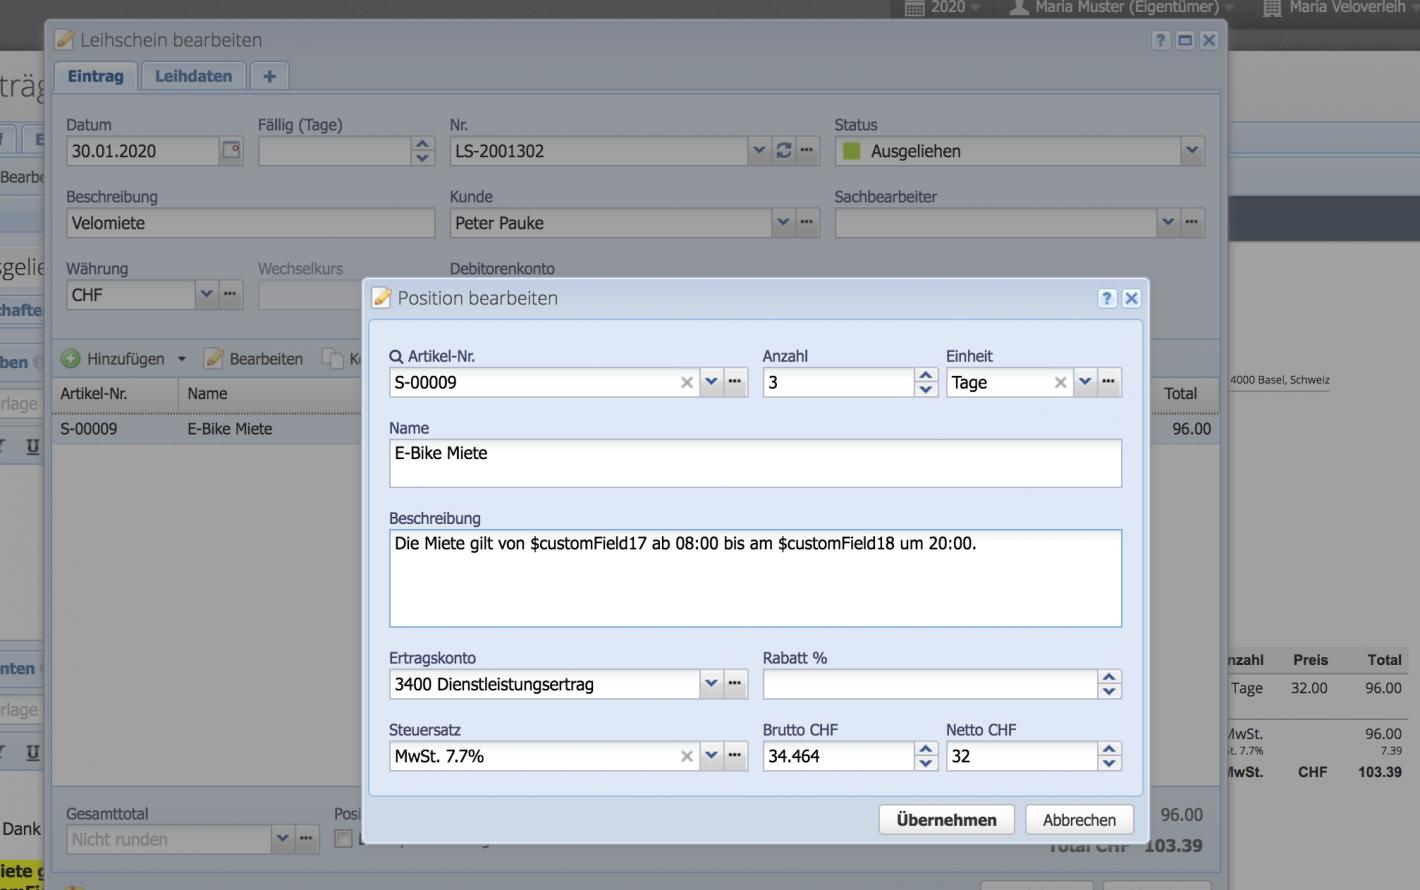
With Save we will have a look at the document. The additional fields can also be used in the text templates or the text below and above.

The placeholders of the additional fields can alternatively be used in the texts and text templates. The advantage is that the font can still be designed a little.