Payroll statements for hourly salaries

Tutorial: How to create and pay payrolls with hourly salaries. First add employee information, then conveniently create payroll statements.
Add allowances and deductions and download the payment order at the click of a mouse — bang.

Contents 

  1. Create payroll statement
  2. Enter hourly rate and hours
  3. Vacation pay and public holiday compensation
  4. 13th month salary advance payment
  5. Enter deductions
  6. Set insurances
  7. Set up recurrence
  8. Send payroll statement / create payment order


Quick start possible?

To create a payroll statement, the following steps must already be completed:

  1. Person / contact entered as employee?
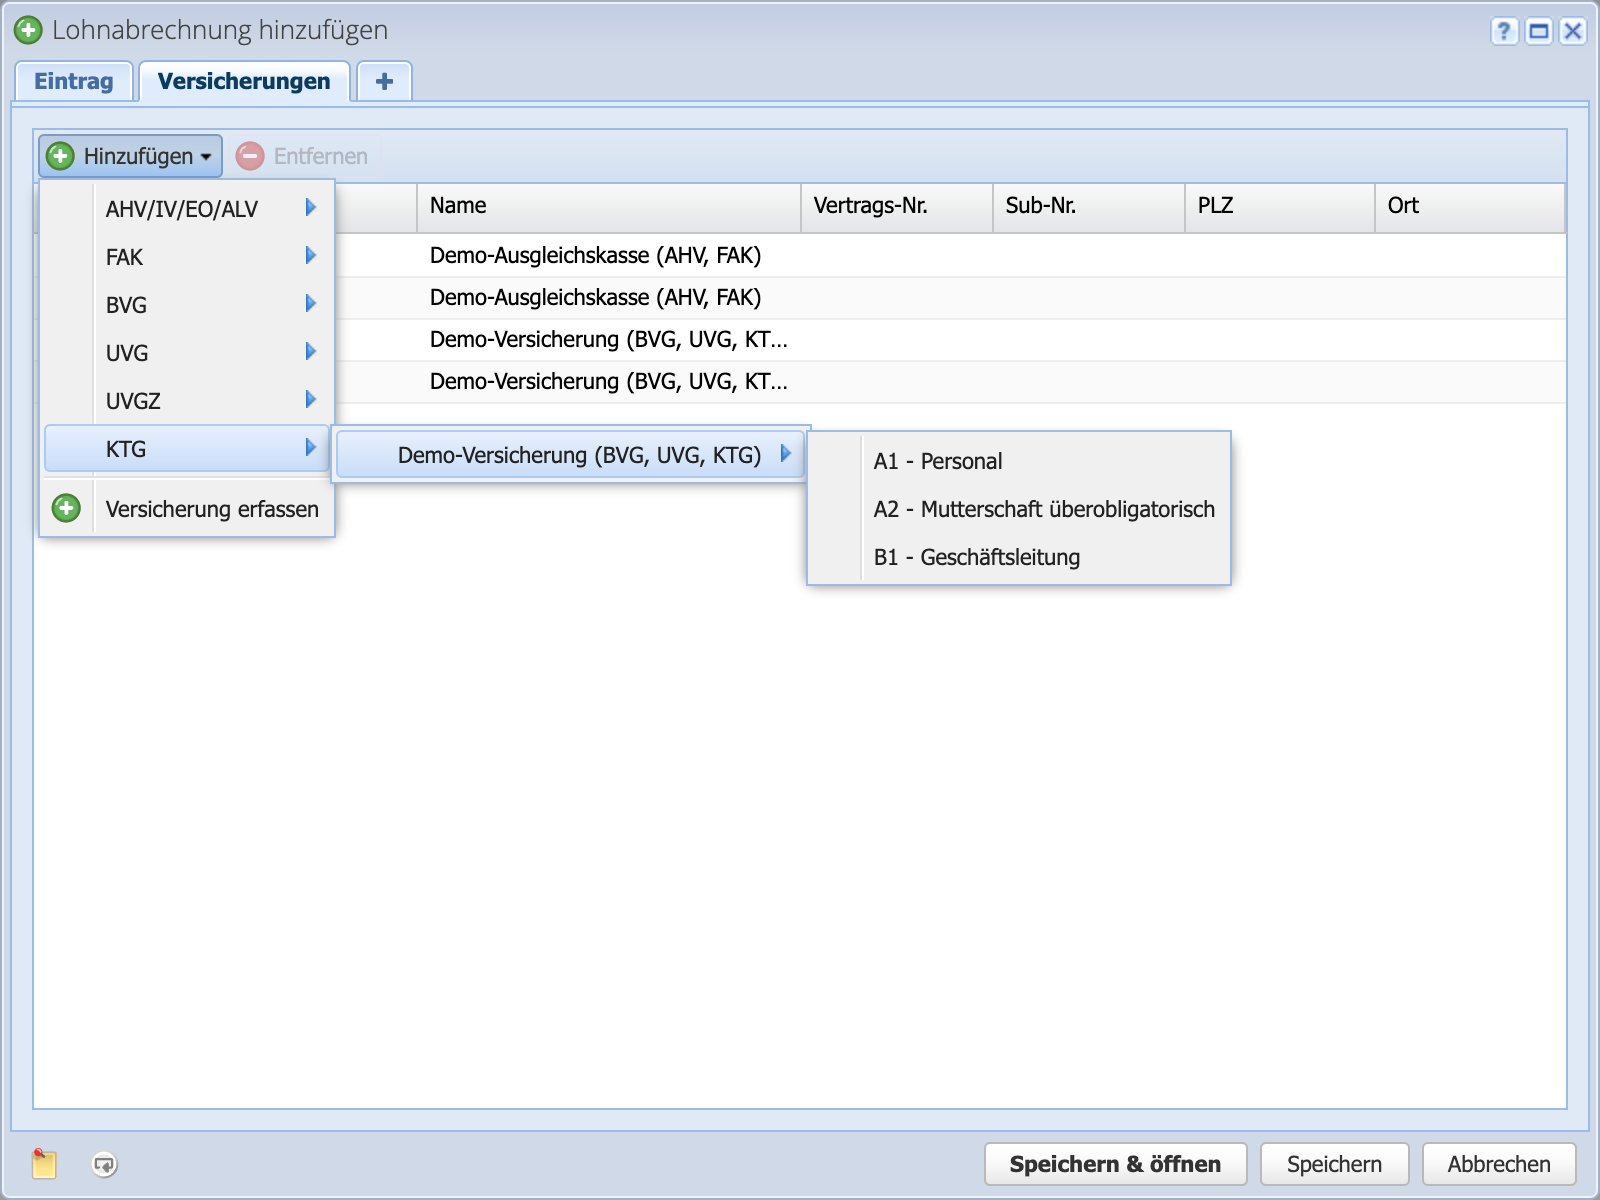
    Enter employees Tutorial
  2. Insurance recorded?
    Record insurance Tutorial
  3. Location completed (optional)?
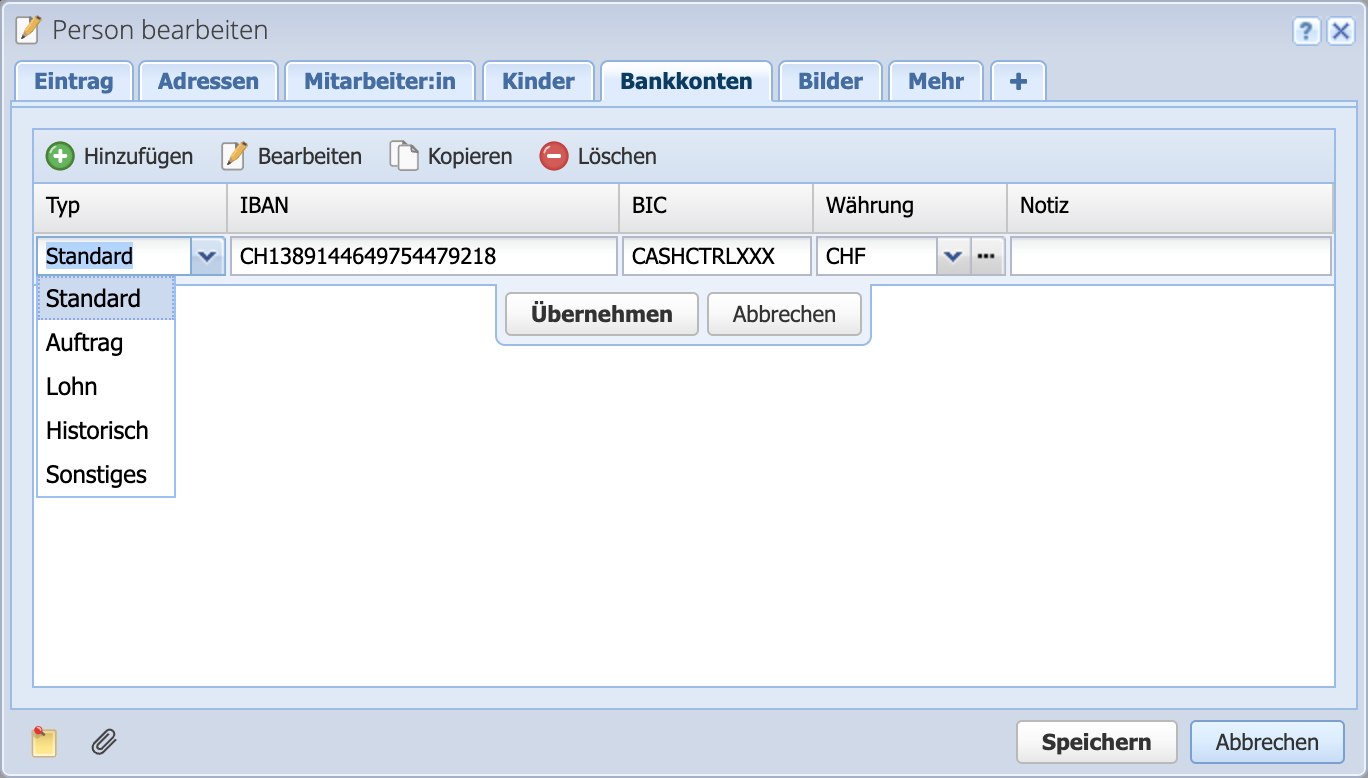
  4. Salary payment account entered (optional for payment via painfile)?

Otherwise, click here for the complete first steps tutorial including setup


Screenshot of a person's employee tab, where data for payroll accounting is recorded

1. Add salary statement

In the Salaries area, use Add to open the dialog for a new payroll statement.

Monthly salary is set by default in the Template field. Select the template for hourly wages here.

The date field controls the month for which the payroll statement is created. By default, the 20th of the month is set and the 25th of the month is set for the payment date. The other fields such as Status, No. and Currency can be optionally adjusted.

It is mandatory to select an employee.


Screenshot of the add dialog for a new payroll statement with hourly salary

Good to know

  • Each line in the table is called a salary type. The salary types are divided into salaries, allowances and deductions.
  • CashCtrl does not have a time recording function. Additional fields can be used to record hours (DIY), but no automatic balances are calculated.
Screenshot of a payroll statement with salary types marked

2. Enter hourly salary

Open the still grayed out salary type 1005 Hourly salary by double-clicking on it or by selecting it and clicking on Edit. Now enter the hourly rate and the number of hours.

Accept the entries with Apply. The percentage AHV/ALV deductions are calculated automatically.

Screenshot of the add dialog for a new payroll statement with the opened input mask for the hourly salary

3. Vacation and public holidays compensation

By default, the vacation compensation is set to 8.33% in the salary template. This rate can be edited and overwritten.

If a public holiday compensation is to be paid, salary type 1161 Public holiday compensation is edited and the corresponding cantonal rate based on the number of paid public holidays per year is entered.

Screenshot of an edit dialog of a salary type

4. Pro rata 13th monthly salary

The salary type 1205 13th monthly salary advance payment is available by default on the hourly salary template, but can also be removed. This salary type is automatically calculated by CashCtrl based on the sum of the previous salary types.

Example calculation from the screenshot: The base of 1316.10 is calculated from 1187.50 + 98.90 + 29.70 and one twelfth of this is automatically calculated for the monthly payroll = 109.70.

Screenshot of the dialog for a new payroll statement with hourly salary and pro rata 13th monthly salary advance payment

5. Enter deductions

All greyed-out salary types, such as NAI contribution (Non-occupational Accident Insurance), OPI contribution (Occupational Pension Insurance) from the employee, and the corresponding employer contributions, can now be filled in as needed.

The legal requirements regarding the annual income at which OPI becomes mandatory, and the minimum number of working hours for NAI to apply, must be obtained from your insurance provider.

Screenshot of the edit dialog for salary type

6. Set insurances

The insurances are set for the various insurance types ( OASI / OPP / FCF etc.) in the Insurances tab.

For further deductions such as UI supplementary or AIA, further insurances are selected here.

These can be edited and added in the Persons module in the Insurance category.

Go to Insurances tutorial

Screenshot of the insurance tab, where the insurances are set.

7. Set up recurrence

To create a recurring payroll statement, configure the recurrence at the bottom left with the Recurrence button.

The document can be generated at an earlier time to ensure that it is sent at the correct time. The default setting here is 20 days.

If required, set the notification (to your own e-mail address) that new payroll statements have been created.

Important: As a copy of the previous payroll statement is technically created in the case of a recurrence, the number of hours must of course be adjusted in the case of hourly salary according to the hours worked.

Go to recurrence tutorial for salaries

Screenshot of the recurrence dialog in the payroll statement for an automatic payroll run

8. Done — Send payroll statement

Click Save & Open to open the preview of the payroll statement. This can now be sent to the employee via send mail. Use Next step Create payment order to create a pain.001 file or a PDF for the manual bank transfer.

Go to Salary payments tutorial

Screenshot of the PDF preview of a finished payroll statement with the “Next step” menu open