Our tip: First briefly sketch out with pen and paper what your workflow looks like with the individual work steps and then map them in the software.

Please enter a search term.
Error ~ No results could be loaded.
Create rental slip for rentals of bikes, campers and co.
Tutorial: Using custom fields to create a rental slip with a start and end date.
Content
- Create service category
- Enter services
- Create document category
- Create custom fields
- Use document with placeholders
- Result / PDF
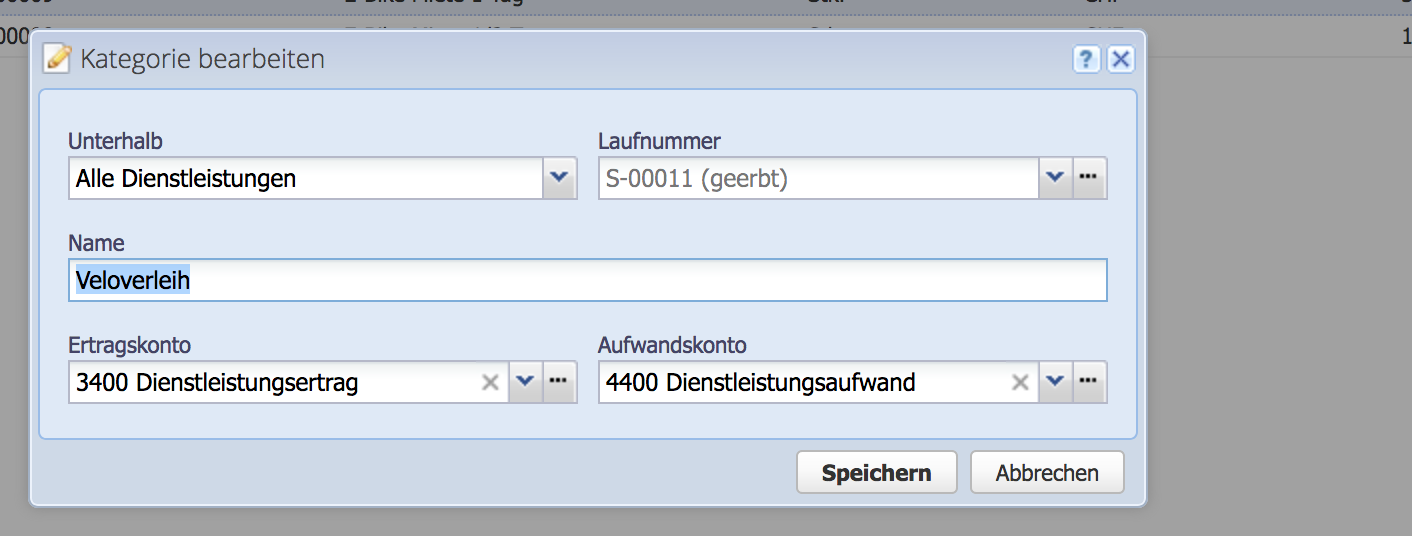
1. Create a service category
In the inventory create a new order category (Here called bike rental). Individual expense and revenue accounts can be assigned to a category.
This breakdown will generate more accurate reports showing which business areas are more lucrative.
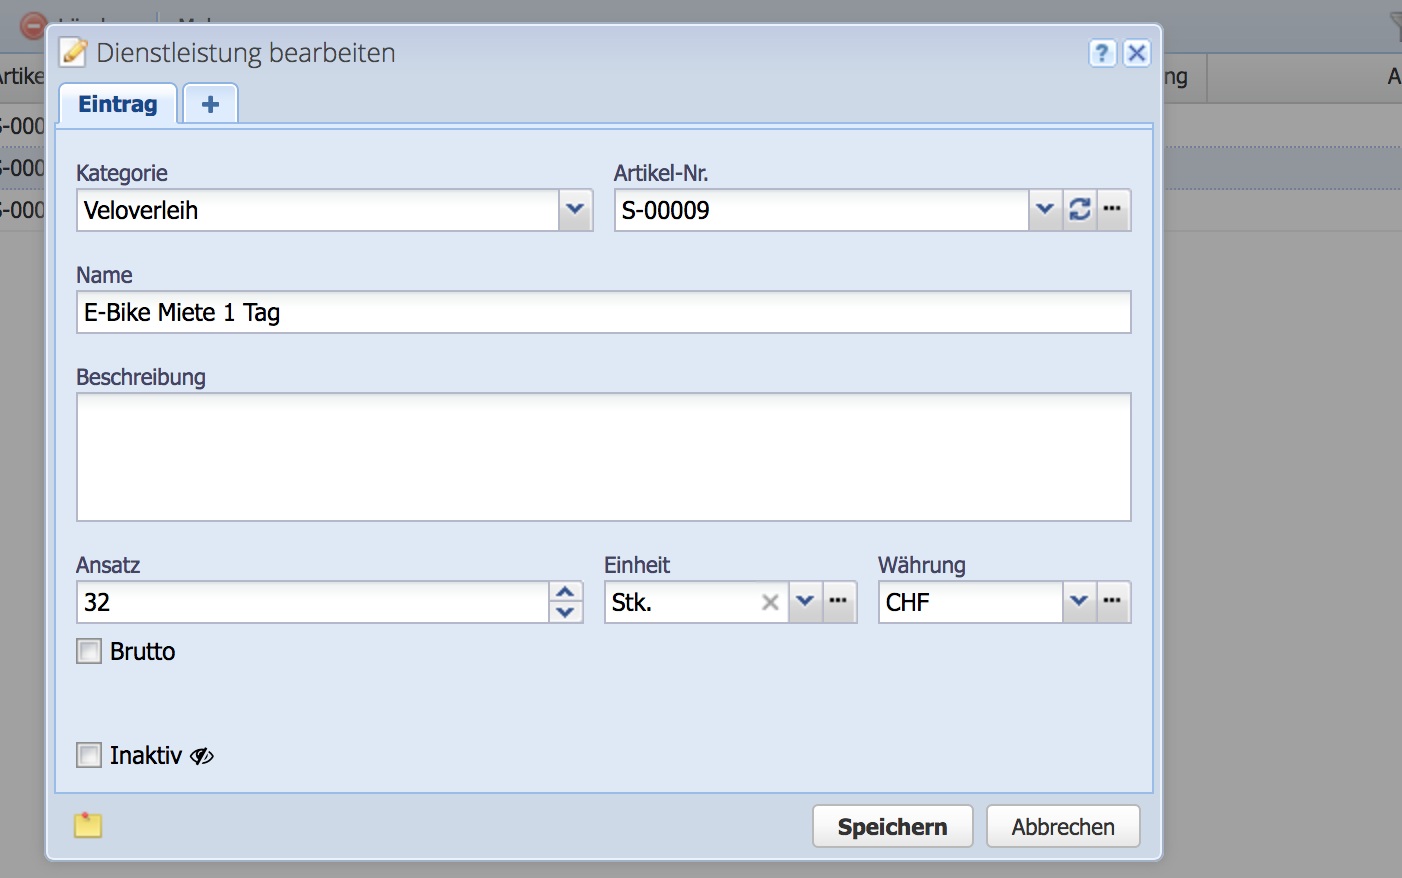
2. Create service
The different services are created using the Add button at the top. Maria Veloverleih relies on e-bikes, these are all rented at the same rate.
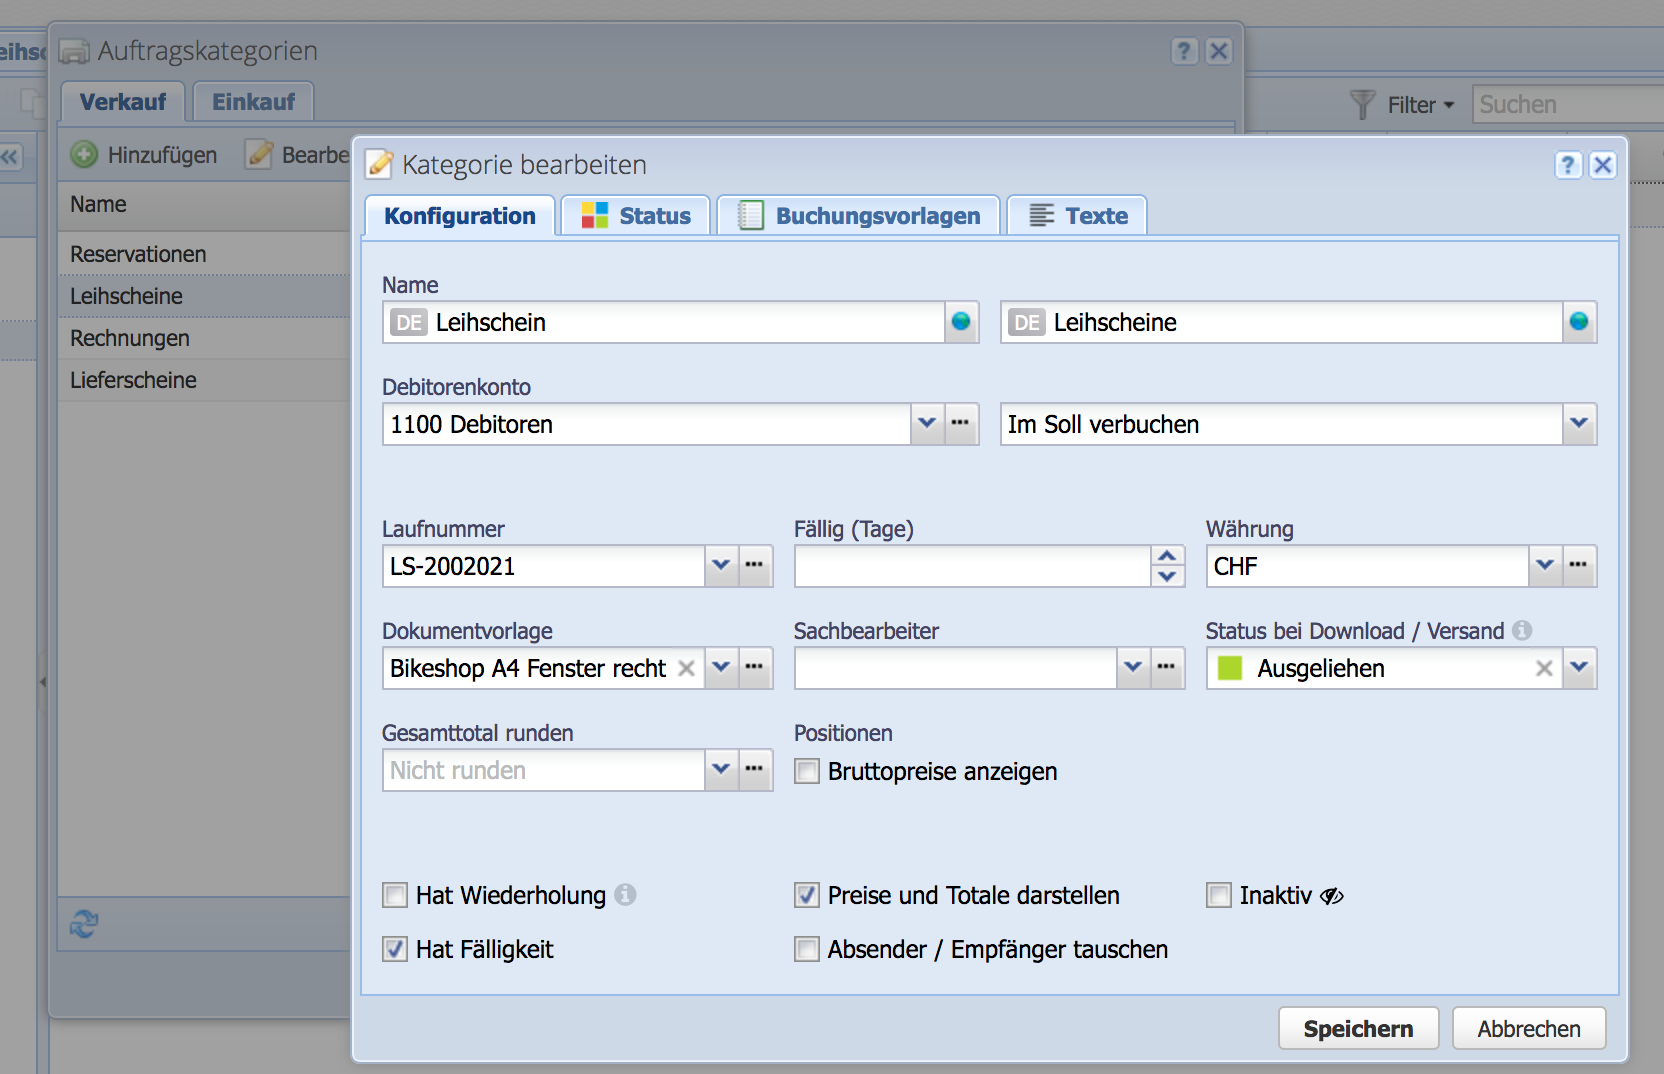
3. Create document category
Via Settings Order categories the new category Rental slip can be created.
The delivery note number now fits perfectly as a run number. Otherwise, use Settings Run numbers to create your own. In the tab Status the statuses: Open, Borrowed, Returned are defined.
Complete the process with Save.
4. Set up custom fields
The rental slip should show the start and end dates of the rental. For this purpose we use custom fields. Via Settings custom fields, two date fields are created in the Orders tab. They are named "Start of rent" and "End of rent". We assign the fields to the tab "Rental data".

5. Use/fill rental slip
Template created, now create a new document in the Orders module via Add rental slip. Add a position bike rental and switch to the rental data tab. There you can easily enter the start and end date.
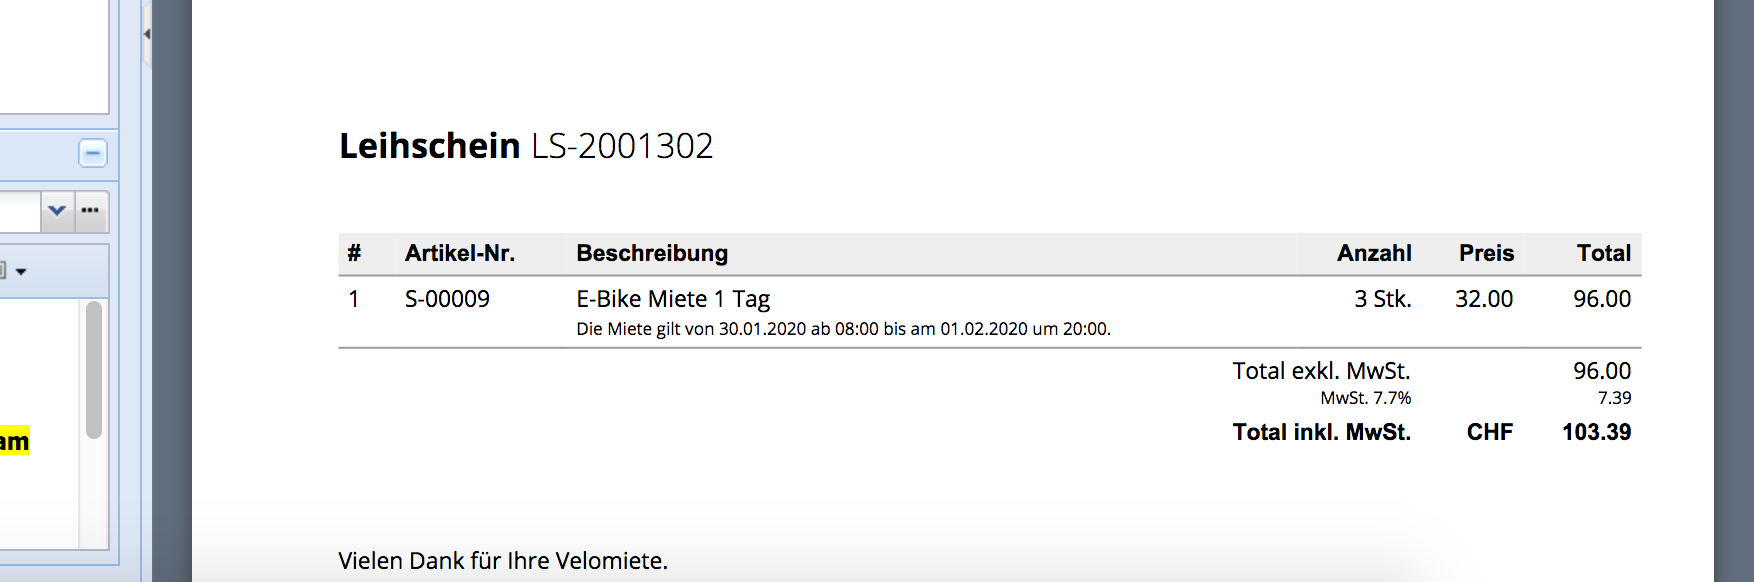
Possibility: In the description text use the variables of the two custom fields: $customField17 and $customField18.

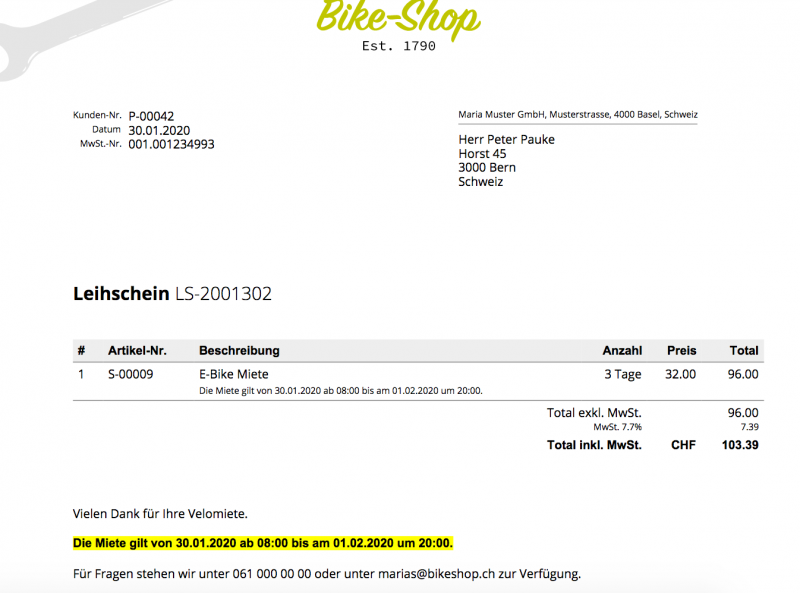
6. Result
Save & Open opens a preview of the rental slip. Alternatively, the custom fields can also be used in the text templates or the text at the bottom and top.